- Click on the Target tab.
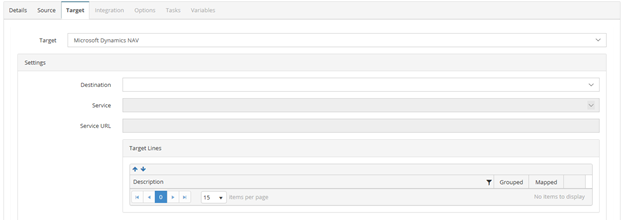
- Target – select Microsoft Dynamics NAV.
- Destination – select a Dynamics NAV connection.
- Service – select the name of the web service to be used.
- Service Url – Displays the url associated with the Service that was selected.
- Target Lines – displays the lines that will be available to be mapped on the Integration tab.
- Once the required fields have been populated the Integration tab becomes active.
- Click on the Integration Tab.
-
Integration Tab
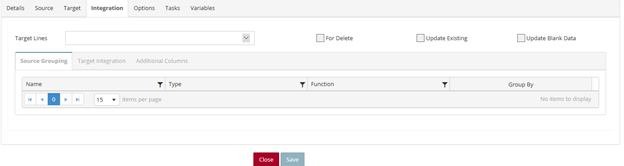
- Target Lines – from the dropdown list select the lines that will be mapped.
- For Delete – when this checkbox is marked, records from the destination that are in the source will be removed.
- Update Existing – when this checkbox is marked, records that already exist will be updated with any changes.
- Update Blank Data – when this checkbox is marked, data that is blank in the source will update the corresponding records in the destination to blank if the destination record has data.
- Source Grouping tab – select which source(s) to group by and the function for the source.
- Target Integration tab – this is where the Source data is mapped to the Target data.
- Additional Columns tab – note: there will be a separate section for each type of Additional Column.
- Once the Target field(s) are mapped to a Source(s), the Save button becomes active allowing the user to save the Integration Process.