Data is the lifeblood of your organization. However, it is often housed in many disparate applications throughout your organization. When you need to merge data from two separate application, Popdock is your solution.
Important Tip
A merged list is used to combine two similar lists with common fields.
In this example, we will show you how to create a merged list from two different connectors – Shopify and Constant Contact. However, this process can be followed to merge data from any of the connectors.
The steps below detail how to merge data from two separate connectors. This scenario merges two standard connector lists.
First, you will create the Merged List Container, then will select which lists you will be merging and then configure your merged list to show the data important to you.
1. Click on your “Home” tab.
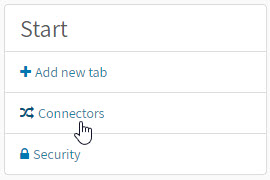
2. Then click on “Connectors” on the left navigation under Start.
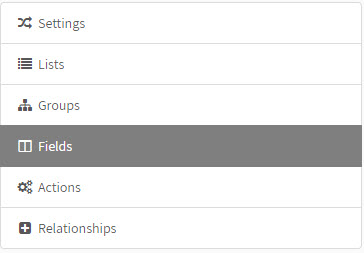
3. Next click on the edit icon next to the connector that you would like the merged list to show up under.
Best Practice:
Select the Connector you view as the ‘master’ source of data for your merged list. In this example, I will select Constant Contact because that is the application used to send my email campaign.

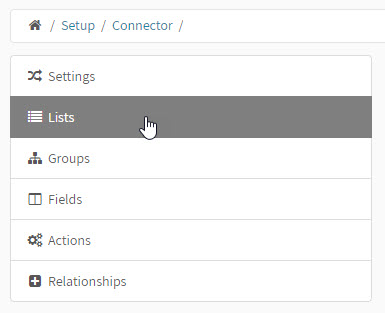
4. Now you click on “Lists” on the left navigation menu.
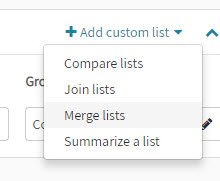
5. Your default lists available for the connector are listed on the List page. In addition, you have a Custom lists section. If you have not created a custom list for this connector yet, you will have the four links as options as shown here in the first image. Click the option that says “Click here to add a custom list that merges multiple lists”. If you have already created custom lists for the connector you will see your custom lists here and a “+ Add custom list” button. Click the “+ Add custom list” and choose “Merge lists” from the dropdown. For more information on each type of list, please see the following Knowledge Base article: “Getting to know custom lists.”

6. Now you are ready to create your merged list starting with completing the List settings: give the merge list a name, for item name in this example it is “Contacts” and the item singular is “Contact”, and then choose the Group that you would like the list to be under.
Best Practice:
When naming your list, it is recommended that you develop a naming convention for your lists such as: Date, Description, Use, Initials for future reference/use.
For example: “ContactContact + Shopify_EmailCampaign_March 2018_MH”
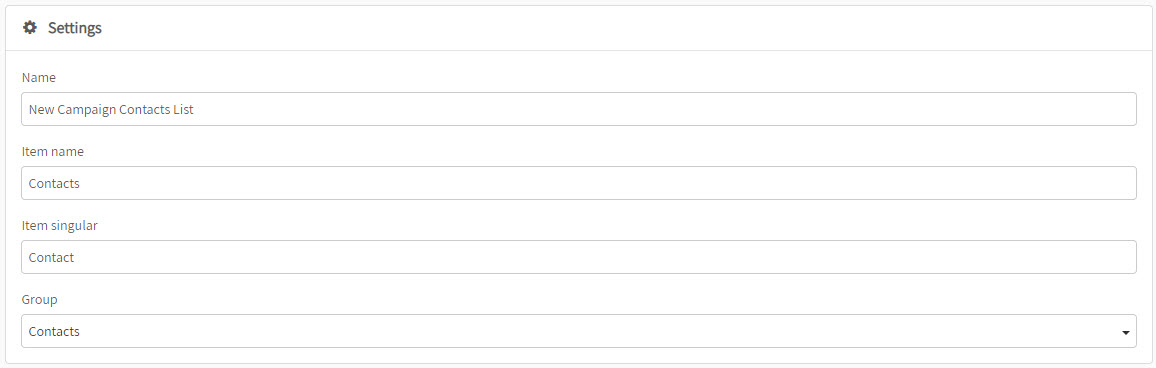
The data you input on this screen will save automatically.
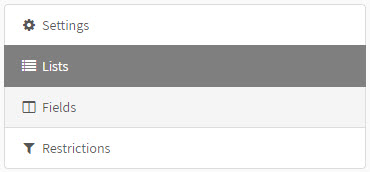
7. Now you will select which lists you will merge. Next click on “Lists” on the left navigation menu.
8. Now click on the link “Click to add a list”. This will popup a window to select the first list. Complete the drop downs for the Connector, Group, and List. Then click the “Add list” button.

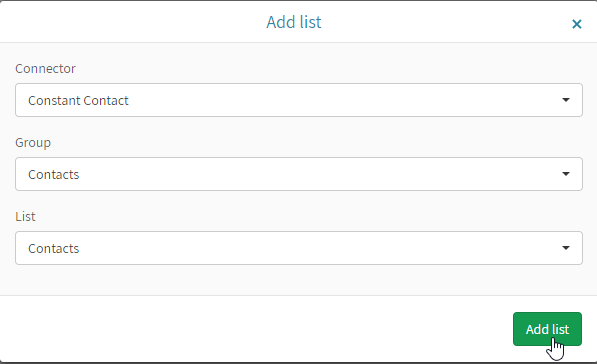
9. You will see the list added. Now click the “+Add list” link at the top right to add the second list that you would like merged with the first one. Complete the drop downs for the Connector, Group, and List. Then click the “Add list” button. Now both lists will be displayed.

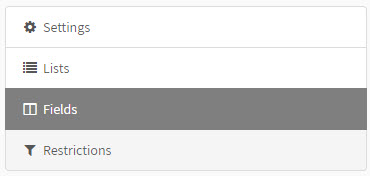
10. Next you will add the fields you want displayed on the merged list. You will specify the field name and then map the field to fields in the original connector applications used to create the merged list. Click on “Fields” on the left navigation menu and then “Click here to add a field”. Enter the name of the field and then choose the field type.
In this example, we are creating a field called “Name” for the customer name column and then choosing the field type of “String”.
Next, complete the two additional drop downs to choose the field that you would like mapped from the two connector lists. In this example, we will map the new field called “Name” to the “Name” field from the ConstantContact list and the “Name” field from the Shopify list.

11. This adds the field and displays the details. Add additional fields per your list requirements by repeating these steps. In this example, I have also mapped the new field “Email” to the “Email” fields of each of the lists I am merging.

12. After you have added all the new fields and mapped them, you can now set your default fields for your list so that they automatically show when you add your new merged list to a new tab. From the breadcrumbs showing where you are currently, click on the connector name to go back to the edit options for the connector.

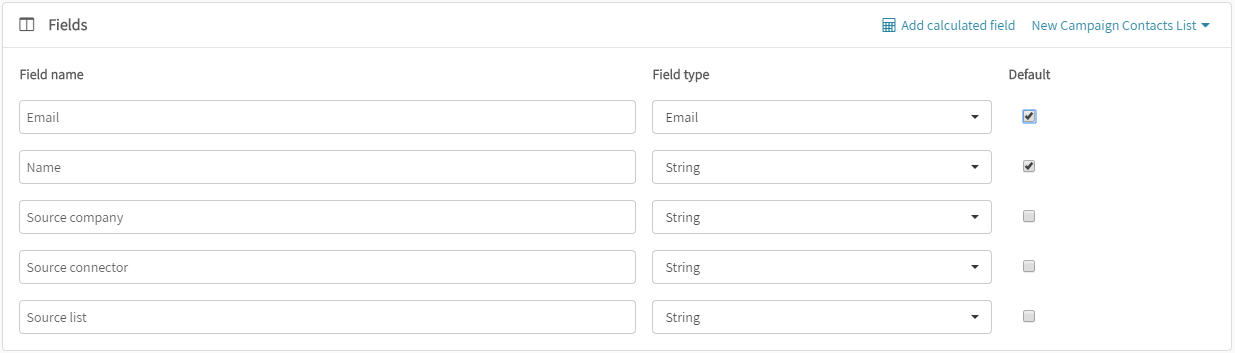
13. Now you want to go to edit the default fields for your list by clicking on Fields on the left navigation.
14. From the “Select list” drop down at the right of the Fields section, choose the name of the merged list you just created and select which fields you would like to see as the default.
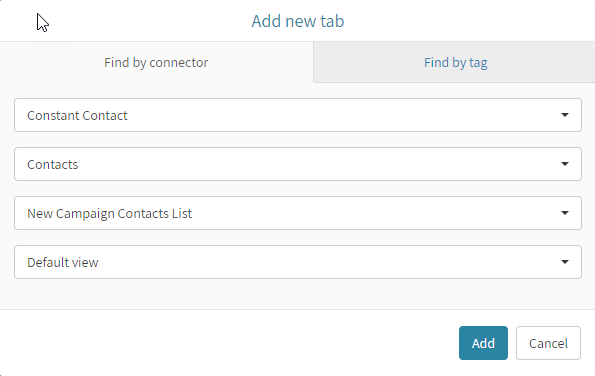
15. After you selected your default fields, your list is ready to be used by creating a new tab. Click the “+ Add new tab” button. Select the Connector in which you added the merged list. In my example, it is housed within the Constant Contact connector.
Next, select the Group. In my example, it is Contacts.
Finally, select your merged list from the drop-down list.
Click the “Add” button.
You have now created a merged list. You can filter, sort, export, or take action from your report. In this example, we would export our merged list to use within Constant Contact for our email campaign.