Popdock widgets enable you to take the data from your connector and integrate the list or graph into the applications that you use daily. A single list/graph or multiple lists can be assigned to a widget which creates a link that allows you to embed your widget into an html page or customizable application.
Important Tip
Be sure to create a list, customize it to how you like it to be seen, and then save it as a favorite to assign it to the widget you are creating or you can choose from the default lists.
How to create a widget:
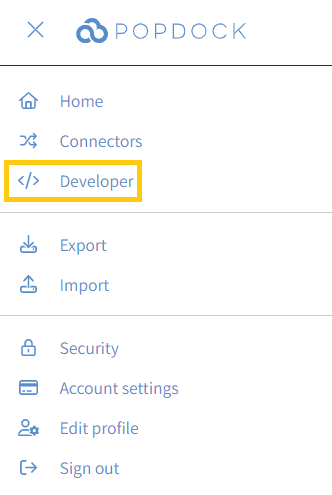
1. Click the triple bar menu in the top left to access the left navigation, then click on Developer from the menu.
2. Make sure you are on Widgets in the left navigation, then click on the +Add widget button.

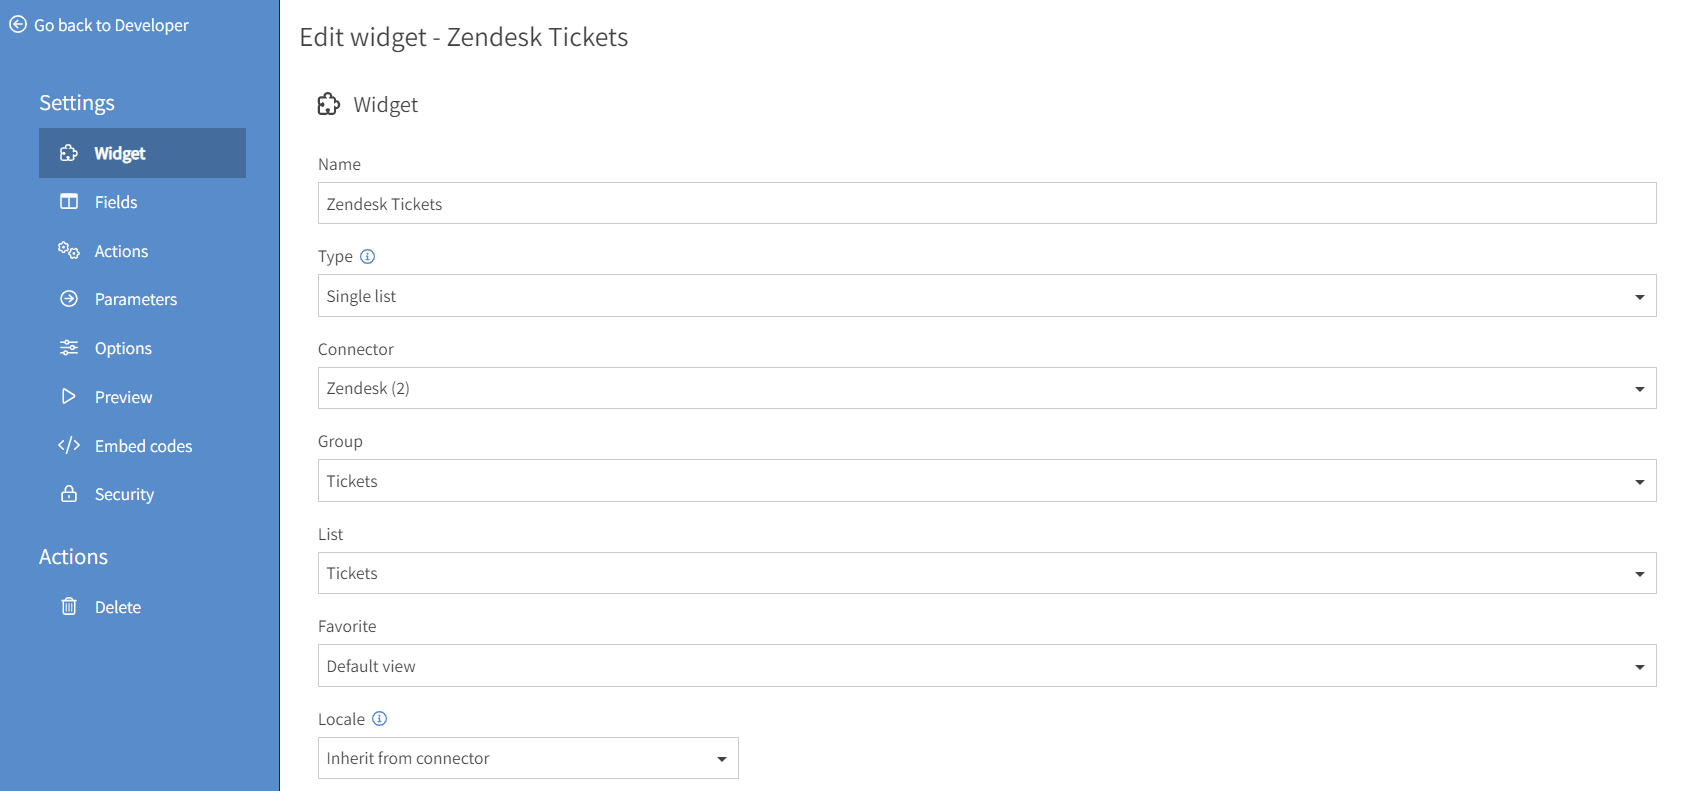
3. Give your widget a name, then choose the type:
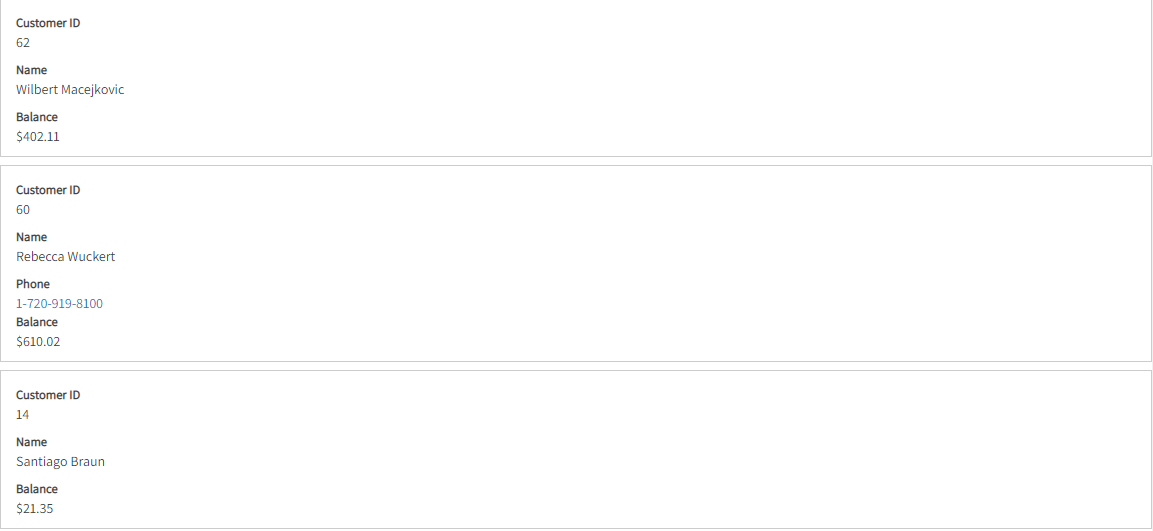
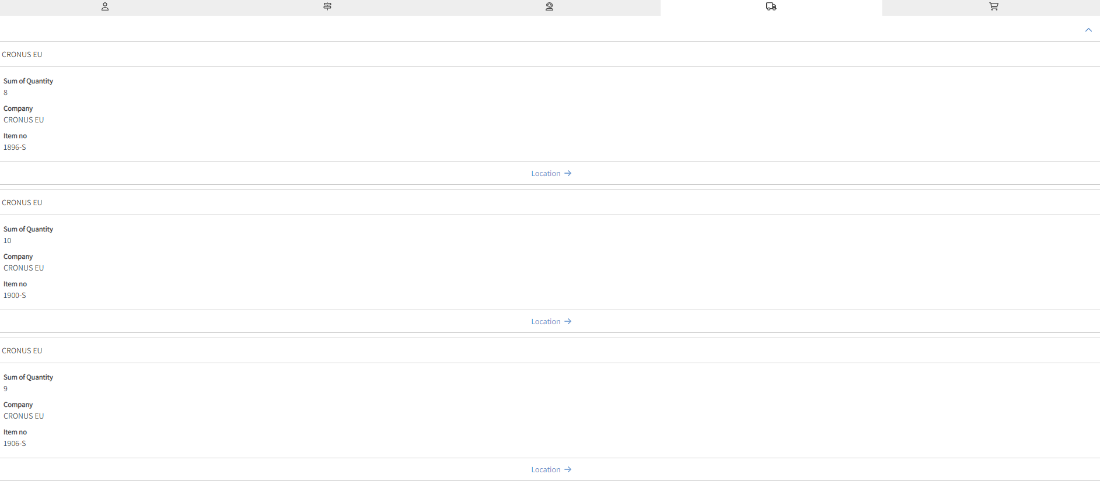
- Cards – Displays the data grouped in a card format with the data organized vertically.
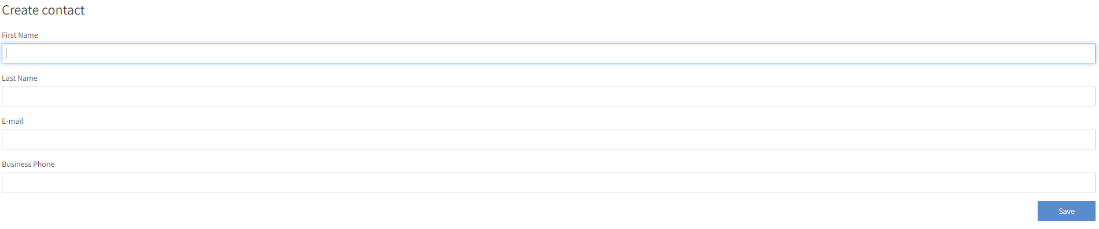
- Form – Provides interface to run an action.
- Image – Allows you to display images in an application without needing to download.
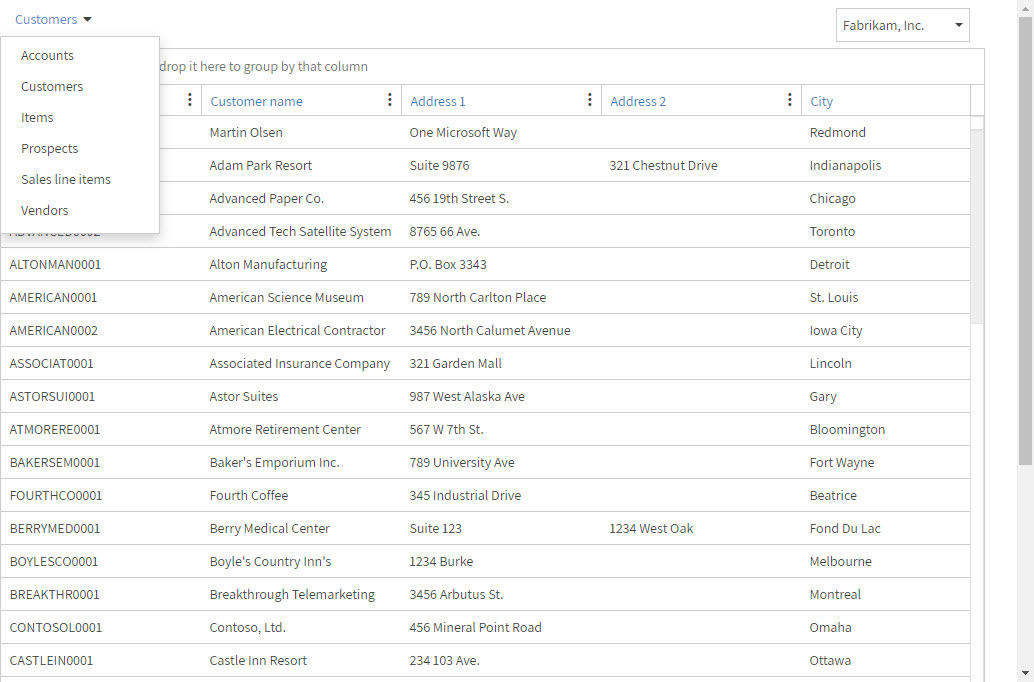
- Multiple Lists – Allows you to assign multiple lists to your widget either in custom groups or directly in a list.
- Search – Allows you to complete a text search for values within selected fields of a list.

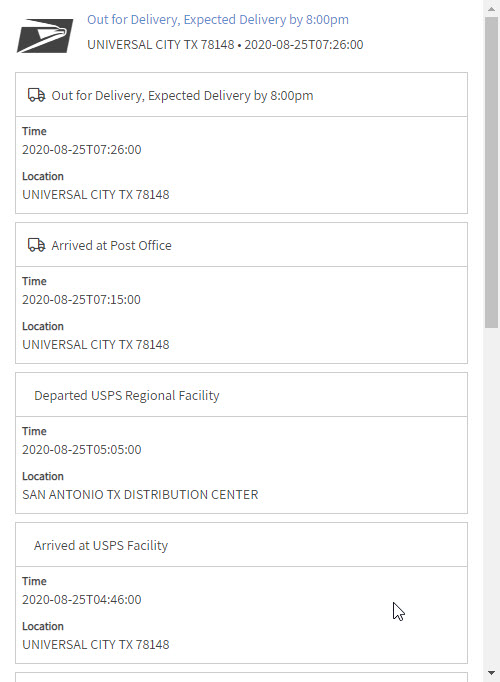
- Shipping Details – Shows shipping details of a tracking number for a shipping carrier.
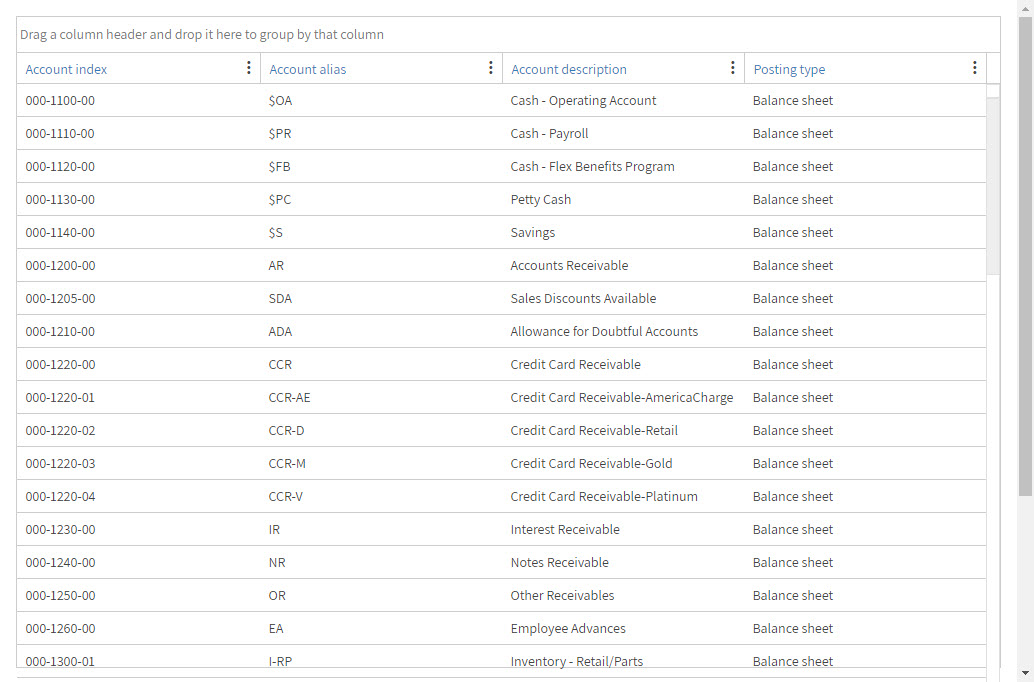
- Single List– Allows your widget to display a single list/chart.
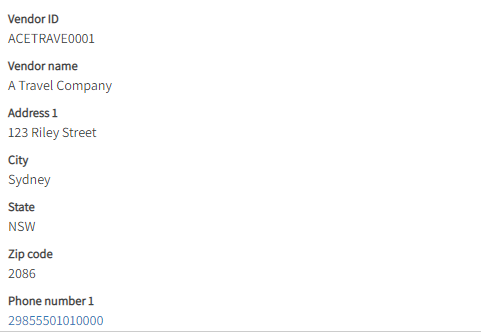
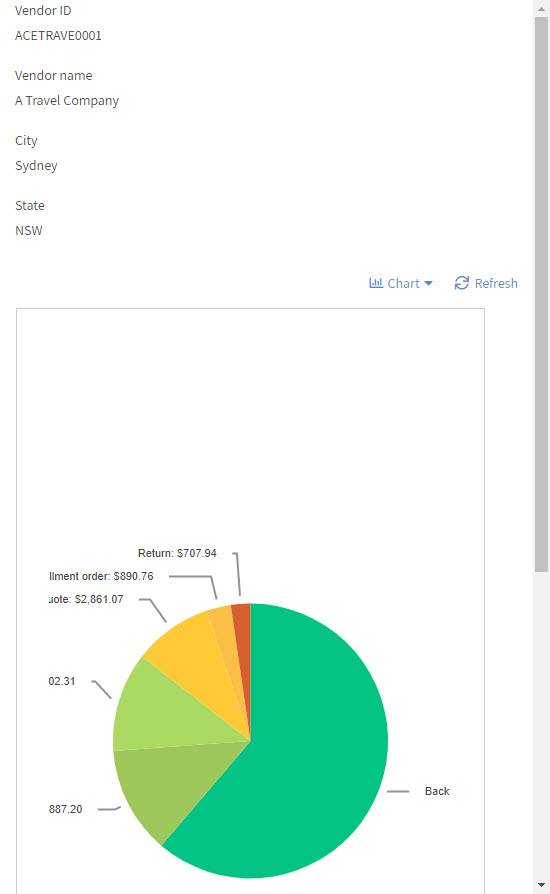
- Single Record – Similar to a Cards widget, but in combination with adding a parameter, you can display a single record for specific data. For example, information about a Vendor.
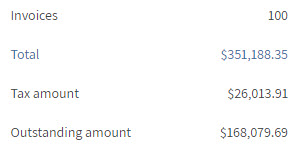
- Summary – Allows your widget to display the summary data of a list.
- Widget Group – Allows you to add a widget or multiple widgets to a sidebar and pass a parameter through the Widget Group Widget and that parameter will flow through to all the widgets within the group.
For this example we are assigning a single default list for Zendesk tickets so we are going to choose Single List and then complete the Connector, Group, List, and Favorite for the list we are assigning.
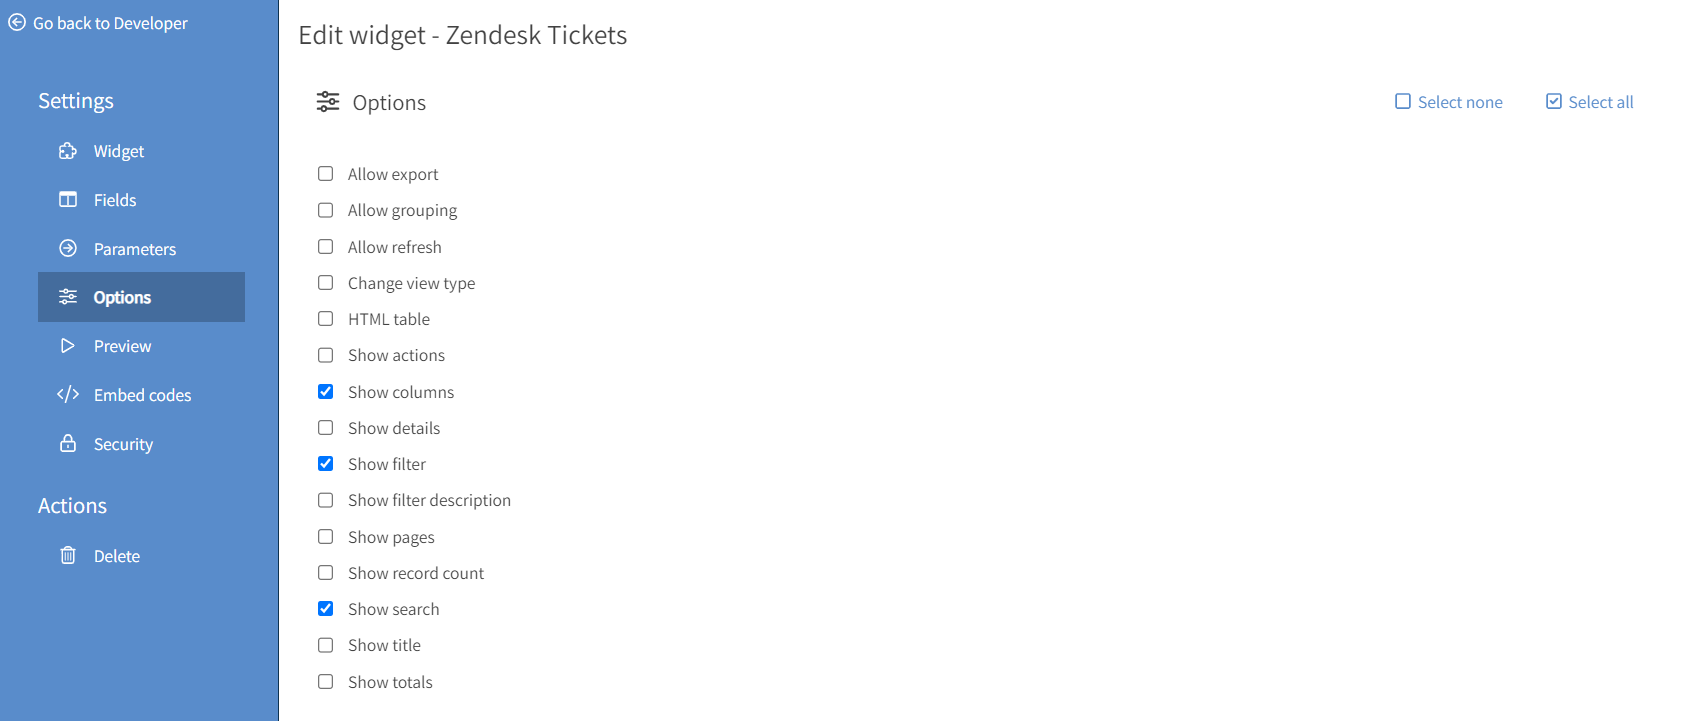
4. Click on Options from the left navigation, then select which checkboxes apply. I have selected to show columns, show filter, and show search. Users that have access to this widget will be able to perform those actions on their own version of the list.
NOTE:
Parameters will be explained in a more advanced help article that details how data can be filtered by setting a parameter using your widget URL.
This completes the required steps needed to create a Popdock widget. Click on Preview in the left navigation menu to see how the widget will look when embedded.
Click on Embed codes in the left navigation to see your Embed links or use the Code generator to generate the code needed for specific applications.
Use the Embed link or IFrame code to display your widget on another webpage or inside an application.
Here is an article showing you how to embed a widget in other applications:
How to integrate a Popdock widget as a custom tab in Salesforce