With the use of a Popdock widget you can integrate a Popdock list or multiple lists directly into your Salesforce user interface either as a tab at the top or as a button that opens up a new window. The following shows how to create a Visualforce page widget in Popdock and create a new custom tab on a Salesforce page which uses the embedded Popdock widget.
Important Tip
A Popdock widget will need to be created prior to following these steps. Click here to learn how to create a Popdock widget.
1. From inside the Edit widget page of the widget you would like to display inside Salesforce, click Parameters under the left Settings menu.

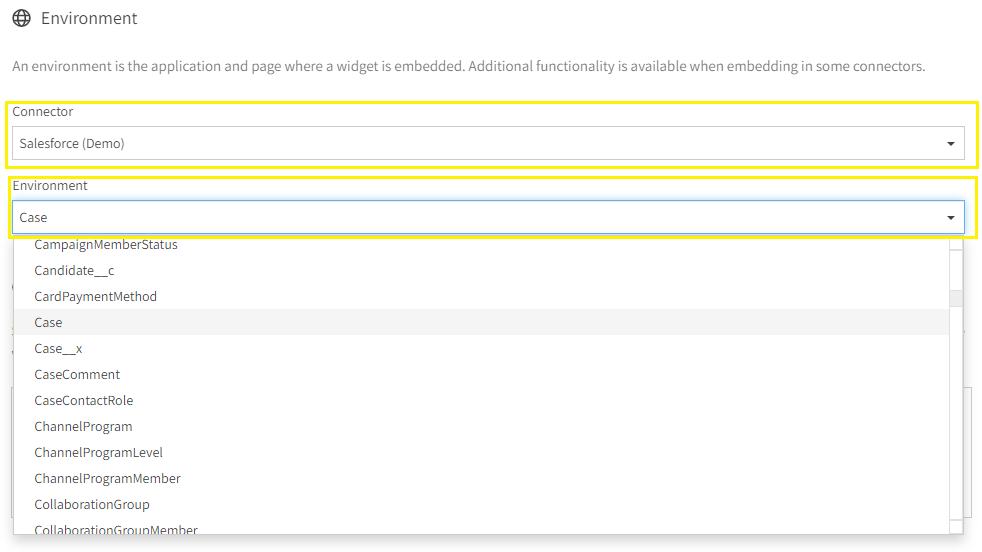
2. Under the Environment section, you will select your Salesforce Connector from the Connector drop down menu, and the Salesforce page you would like to embed on from the Environment drop down menu. In this example, we will be creating our widget on the Case page of our Salesforce environment.
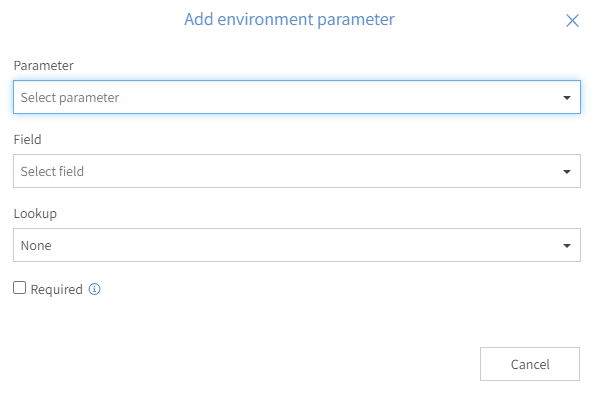
3. Next, click on the +Add environment parameter. An environment parameter allows you to select values from the environment to pass through to the widget to restrict the data displayed. From the drop down menus, select the parameter and field you are looking to restrict the data off of within your widget.
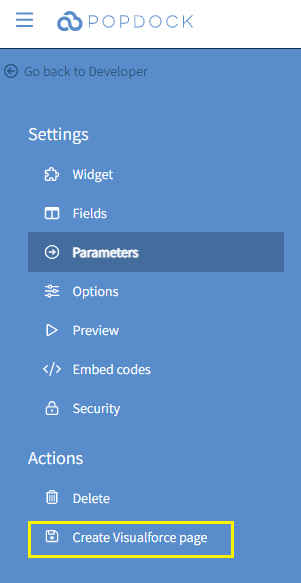
4. Once you have selected the environment you would like to publish to and have set up your environment parameter, your Visualforce page widget is ready to be created. You can hit the Create Visualforce page button from within the Actions menu.
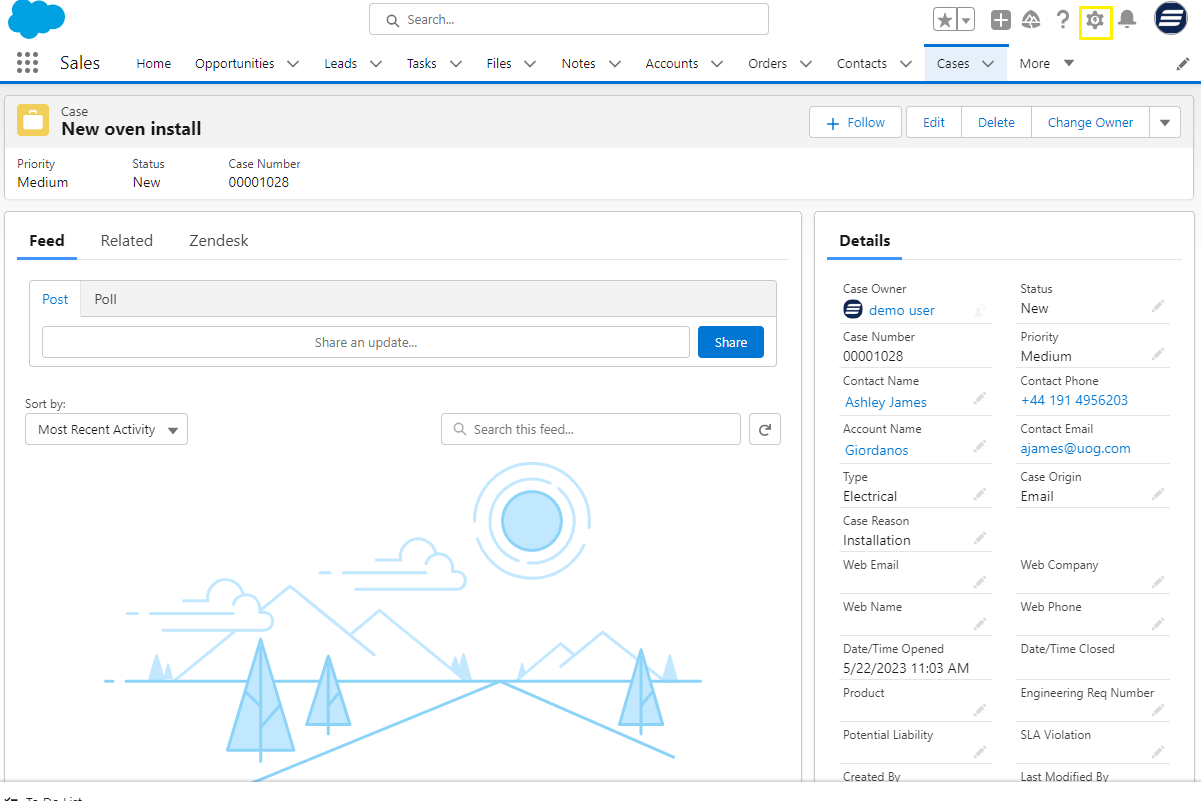
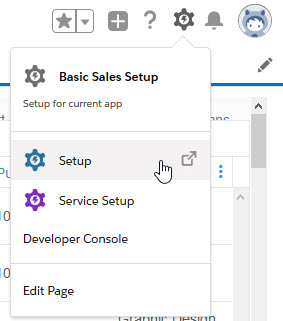
5. Once your Visualforce page widget has been created, you will navigate back to your Salesforce environment to create a new custom tab for your widget. From within your Salesforce environment, locate the environment/page that you selected when configuring your Popdock widget and select the Setup (gear icon) in the upper right corner of that page.
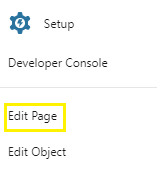
6. From the Setup dropdown menu, select Edit Page.
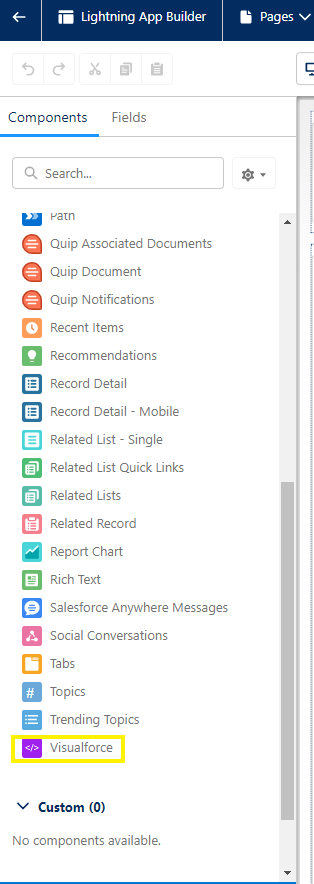
7. In the Components menu on the left side of the page, scroll down and select Visualforce.
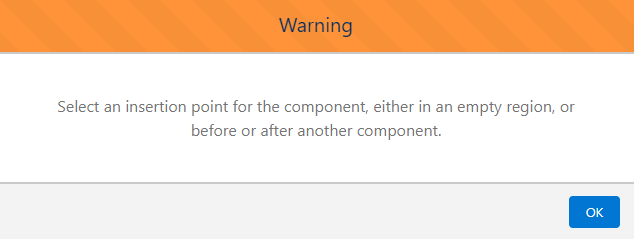
8. Click OK on the pop up warning message shown below.
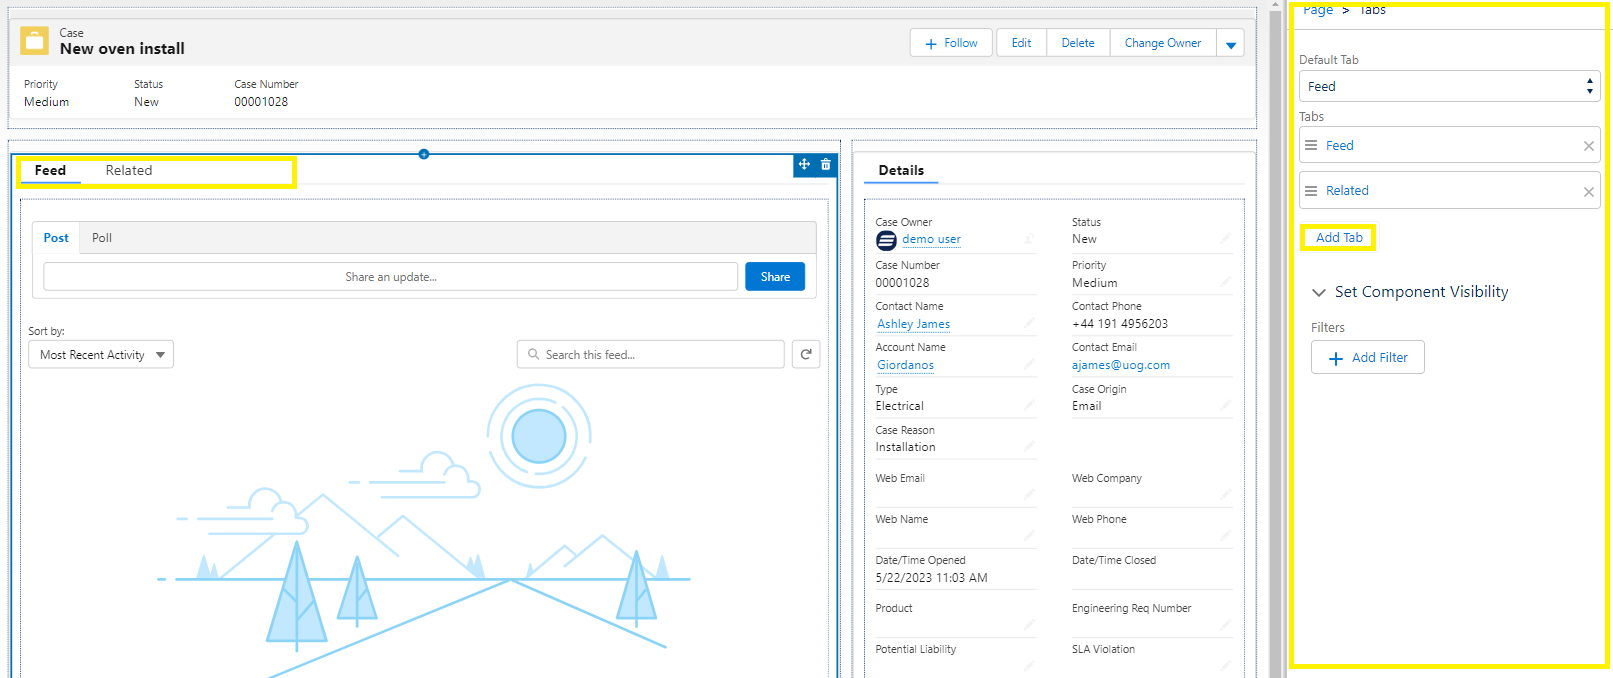
9. You will now select the component of the page that you want to add your Visualforce page to. In this example, we clicked in the space to the right of the Feed and Related tabs. By doing so the Page > Tabs menu populates on the right side of the page. In this tab menu, we will select the Add Tab button.
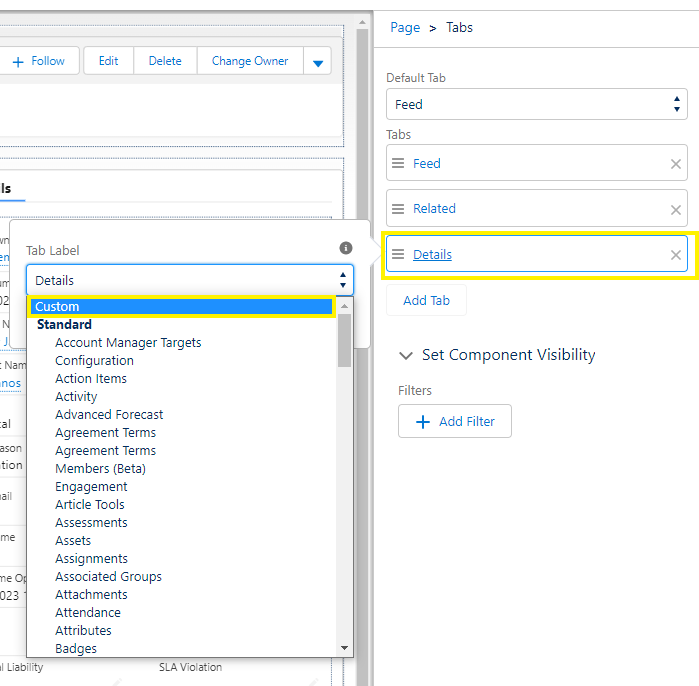
10. A new Details tab appears following the current tabs. My clicking on the Details tab, the Tab Label menu will pop out to the left. Scroll to the top of the menu and select Custom.
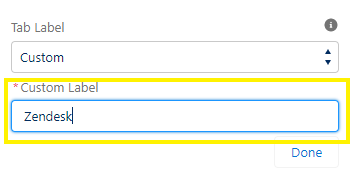
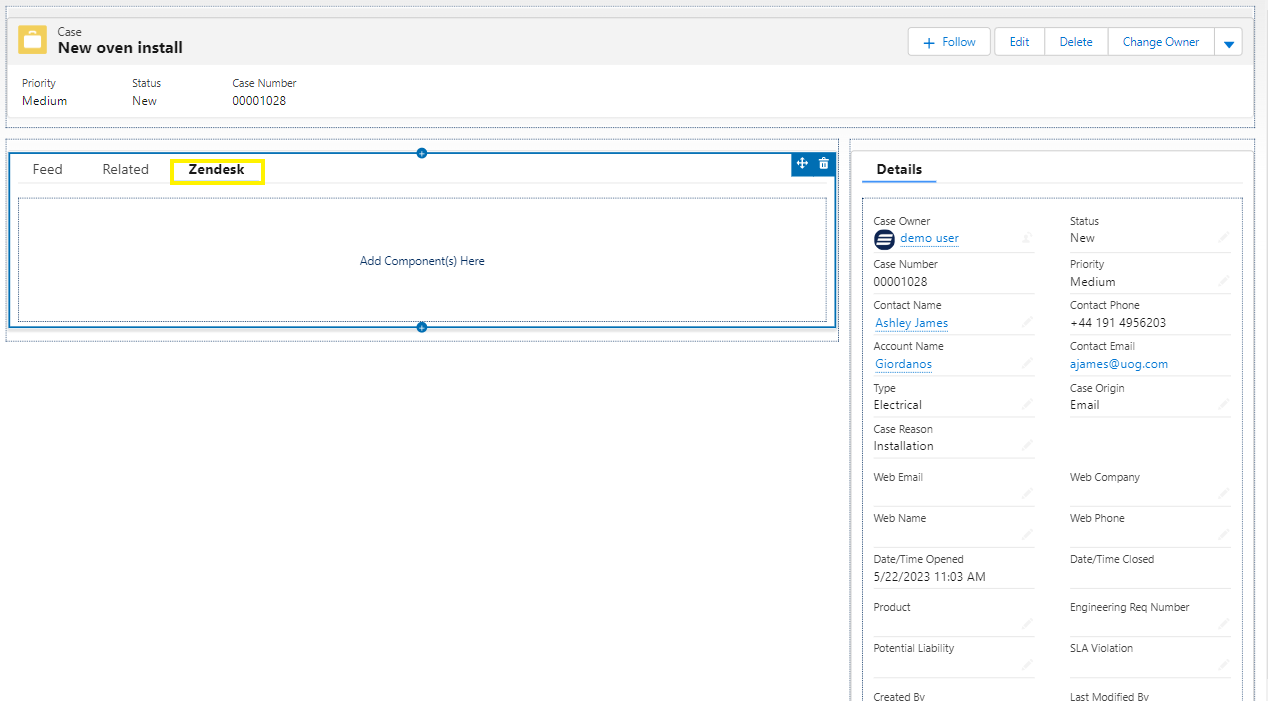
11. Give your Custom Label a name using the available field, then click Done. You will notice a new tab appears on the page with your Custom Label.
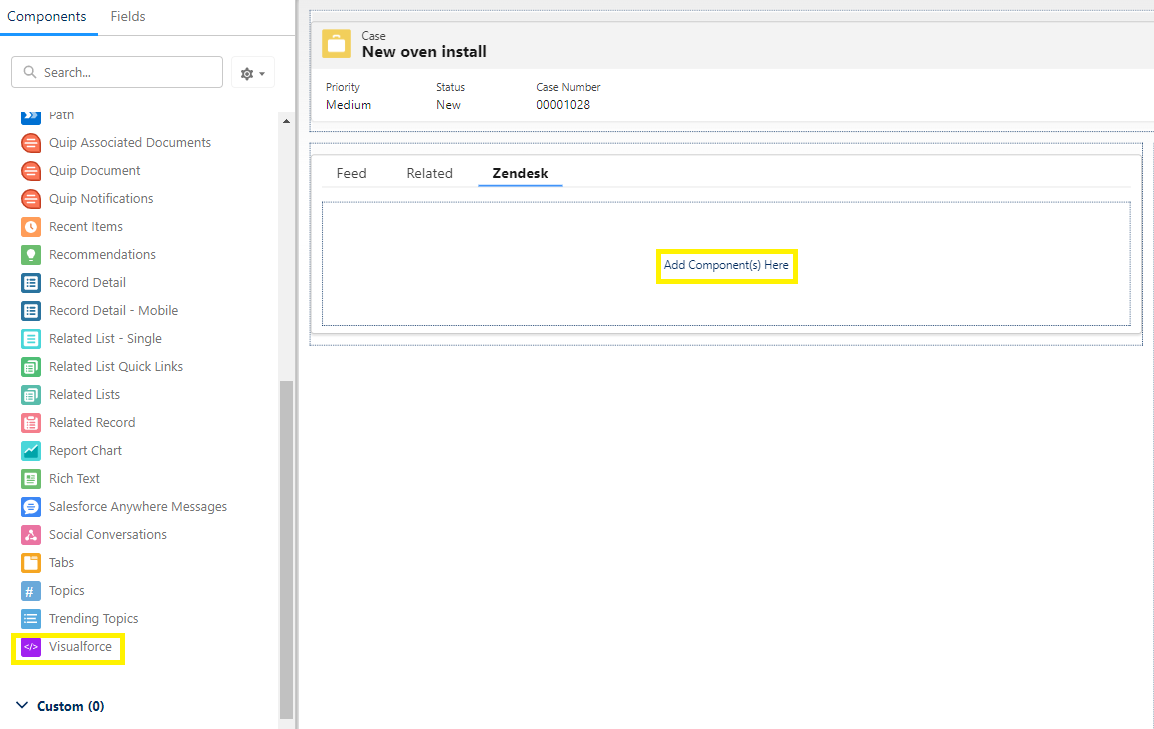
12. From within your the new custom tab, click Add Component(s) Here. Then click Visualforce from the Components menu on the left side of the page.
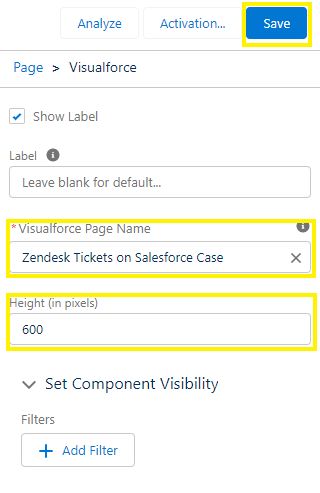
13. From the Page > Visualforce menu that appears on the far right side of the page, select the name of your Popdock Visualforce Widget from the Visualforce Page Name drop down menu. You can use the Height (in pixels) field to adjust the size of the widget on the page. Once you have selected your Visualforce Page widget and selected the height, click the Save button in the top right corner of the page.
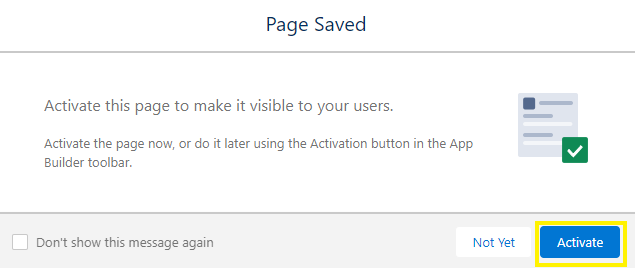
14. You will receive the following prompt noting your Visualforce page saved. Next click on the Activate button to make this Visualforce page visible to users.
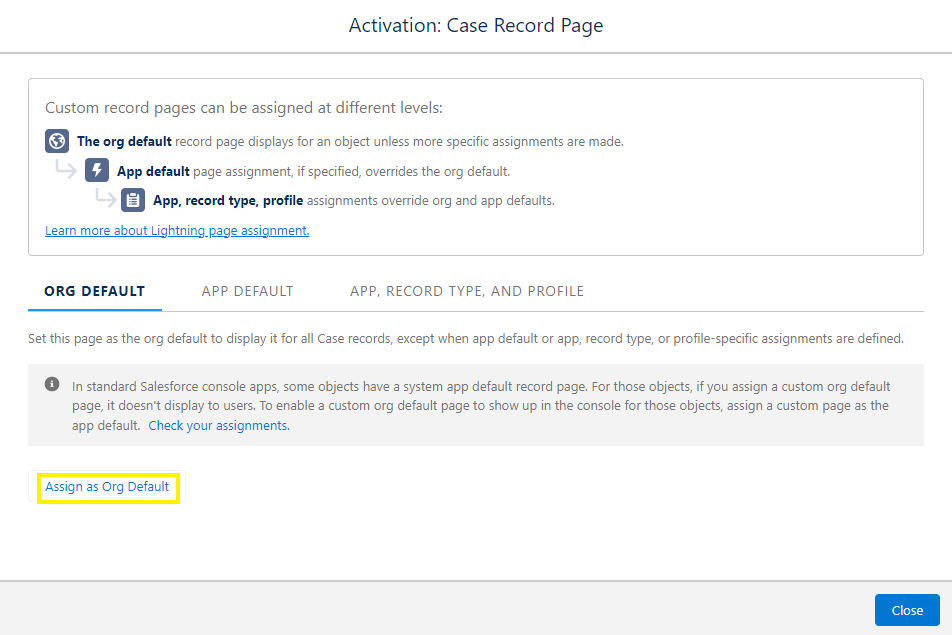
15. From the Activation Page, you have the option to select whether your Visualforce widget is assigned as an Org Default, App Default, or App, Record Type, and Profile. In this example, we will select Org Default to display the Visualforce Widget on all Case records. To do so, click Assign as Org Default.
Note: Click HERE to learn more about page assignments in Salesforce.
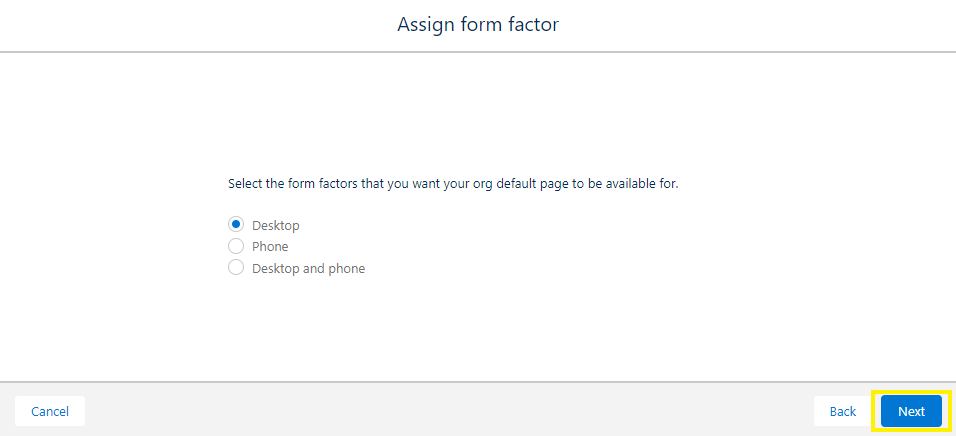
16. Select which form factors you want your Org Default Page to be available for and then click Next.
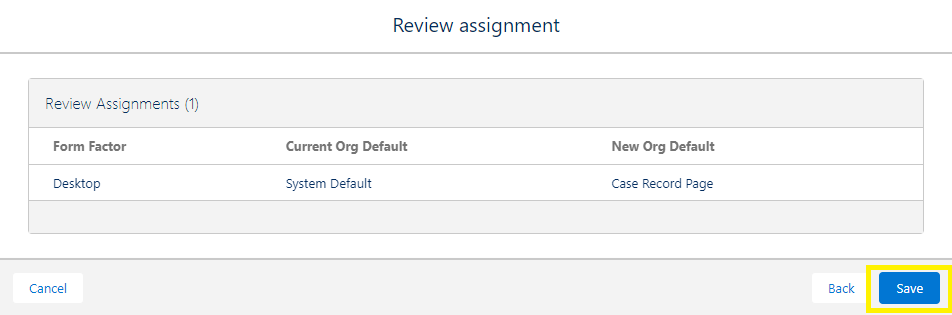
17. Review your selections and once confirmed click Save.
18. You can now click the Back Arrow in the upper left corner of the page to exit the Lightning App Builder.
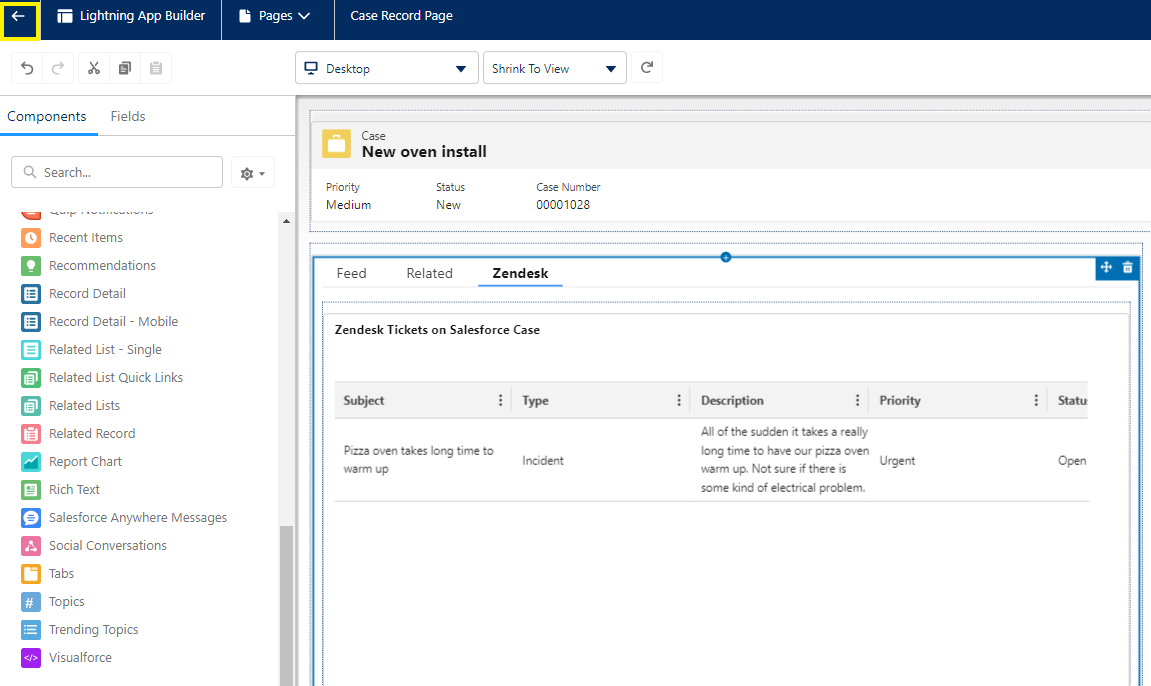
19. Click on your new Custom tab to view your newly embedded Visualforce Page Widget.

Adding a Popdock tab:
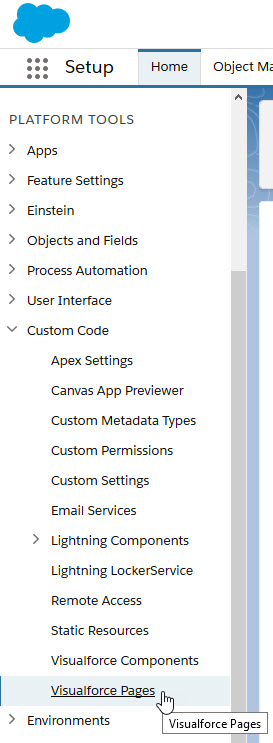
1. Click the setup icon at the top right next to your profile icon, then select “Setup”.
2. In the left navigation, click on Custom Code so you can choose the Visualforce Pages option.
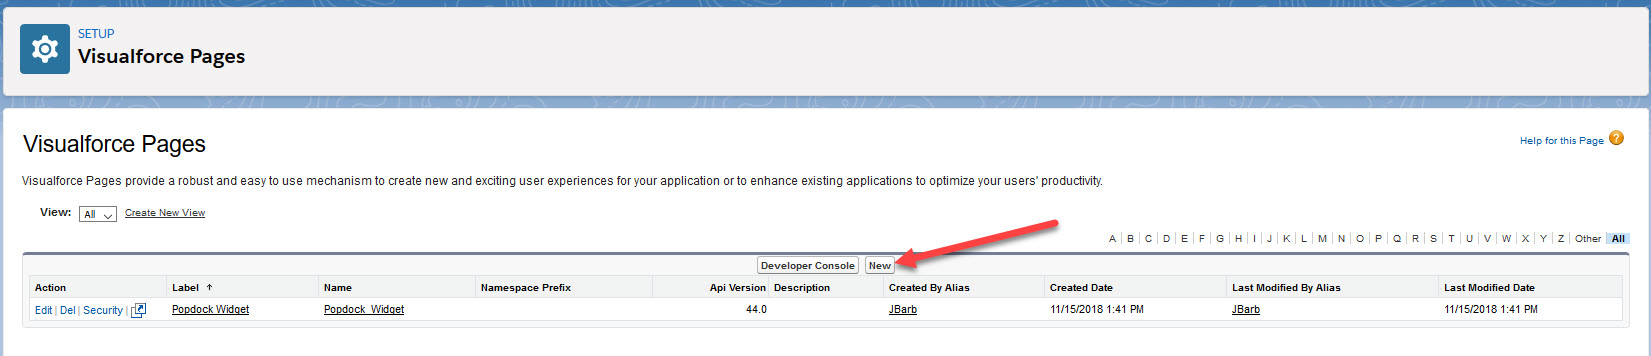
3. Click on New, to create a new Visualforce Page.
4. Give your new Visualforce Page a Label, then give it a Name, this field cannot contain spaces. If you want you can also add a Description. In the tab labeled Visualforce Markup, this contains the code that makes up the Visualforce Page. You will need to delete the default code and paste the code created by the Code generator for a Visualforce page from the widget embed codes:
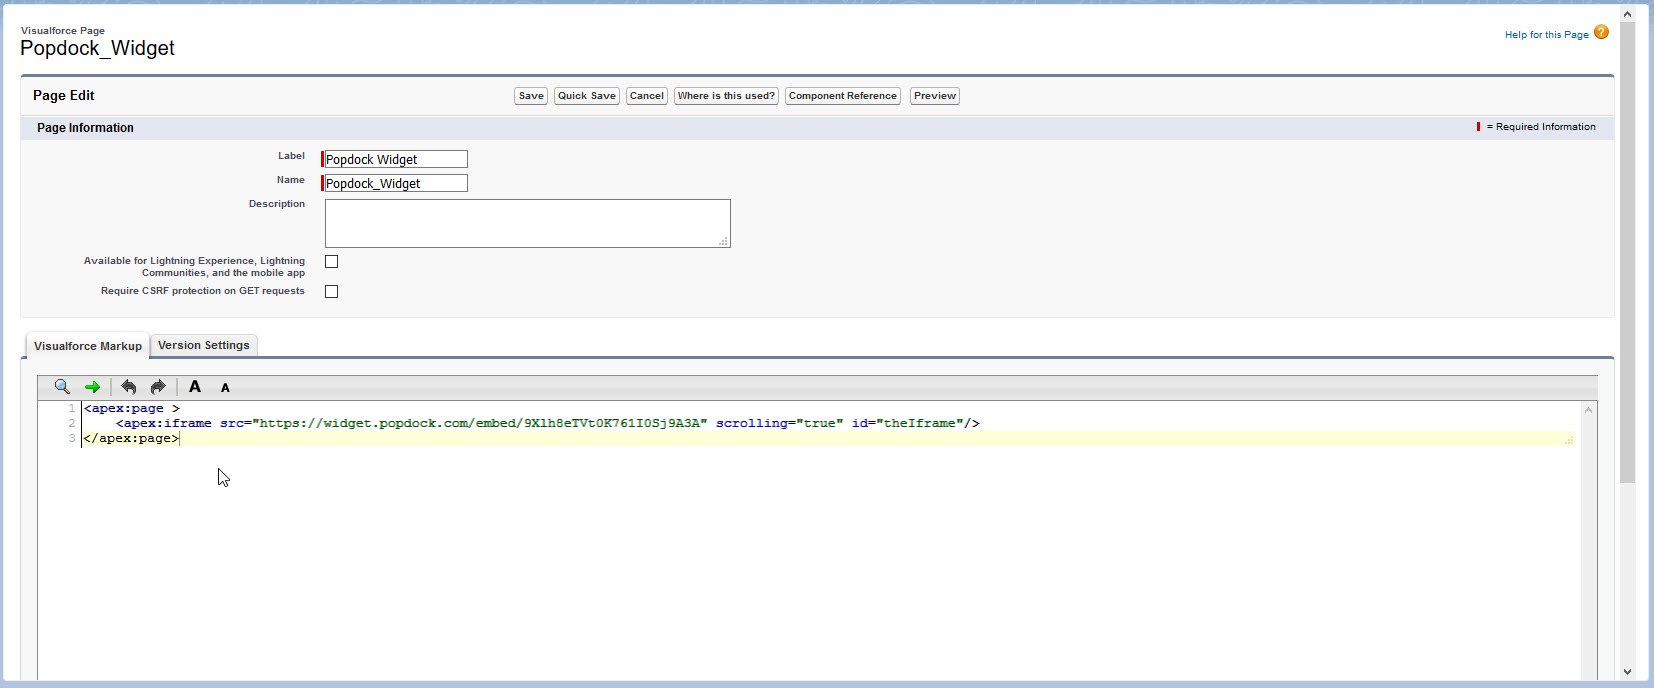
5. Click the “Save” button and you should see you new Visualforce Page listed.
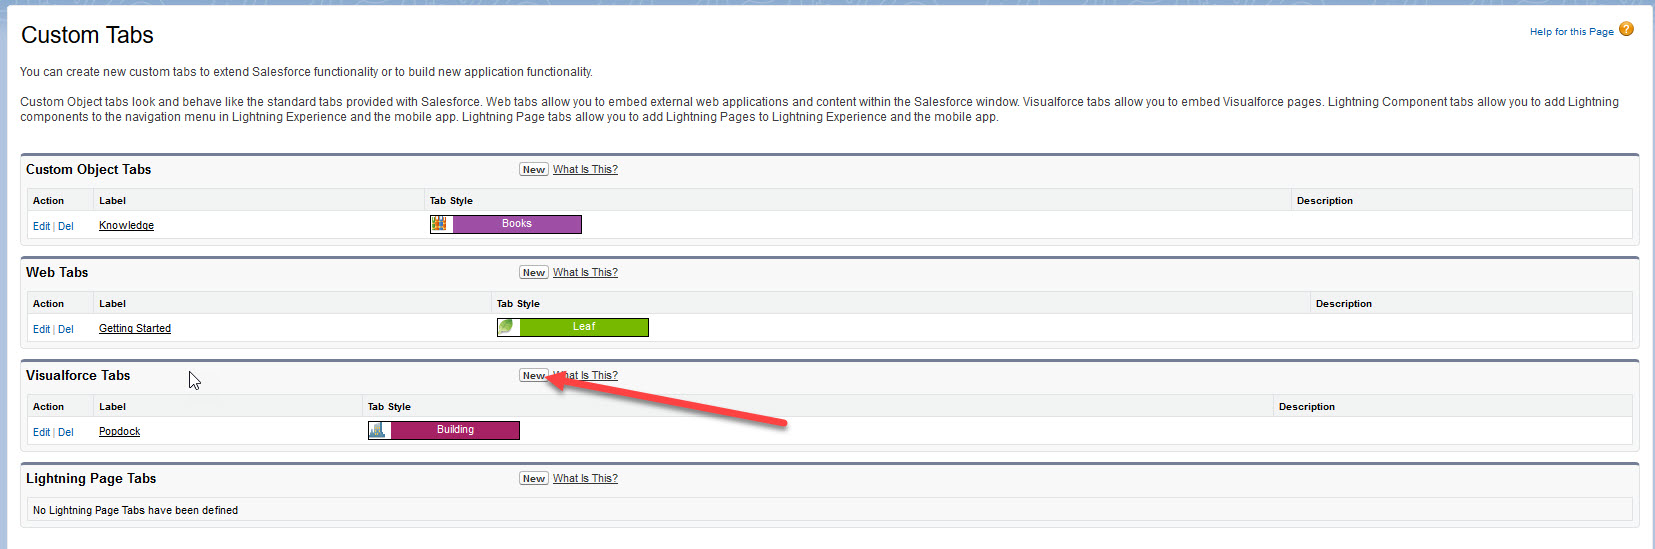
6. Next using the left navigation, click on “User Interface”. Then click on “Tabs”.
7. Here you will want to create a new Visualforce Tab so under the Visualforce Tabs, click on the “New” button.
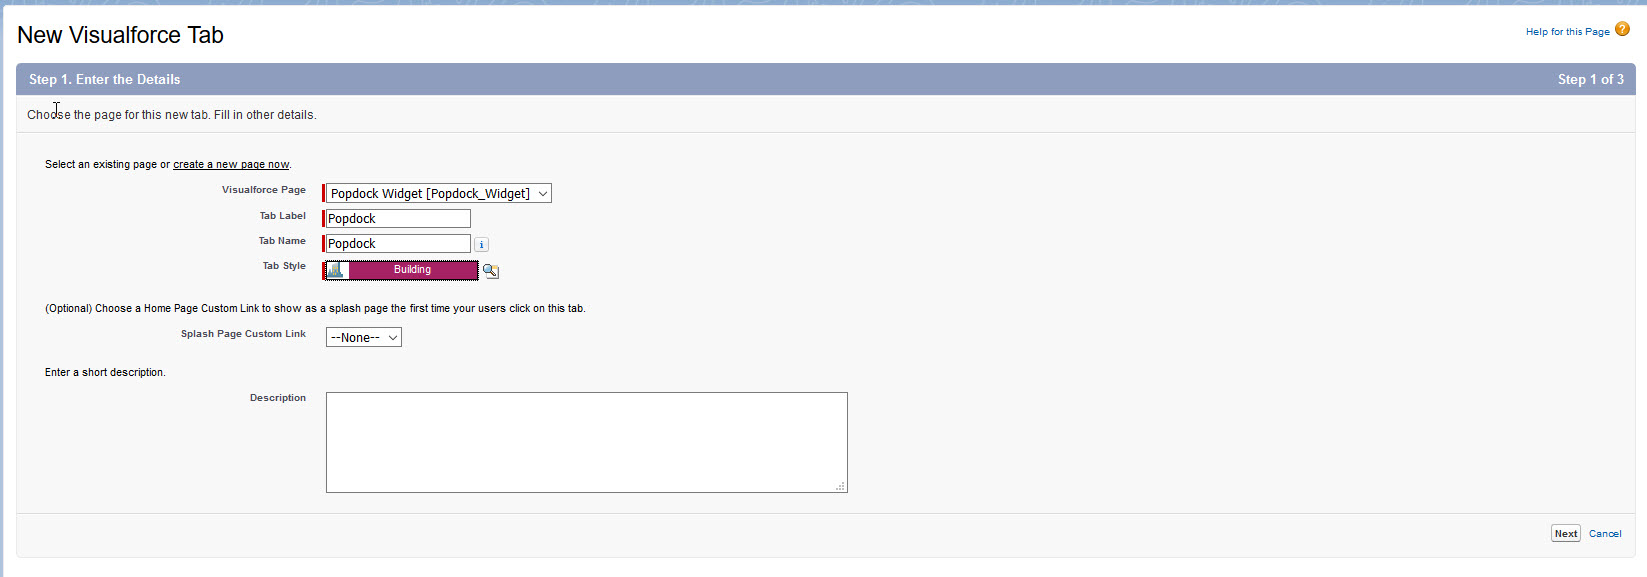
8. Choose your Visualforce Page from the drop down menu, then give your tab a Label, Name, and choose a Tab Style. The rest of the fields are optional. Once you have completed the fields, click the “Next” button.
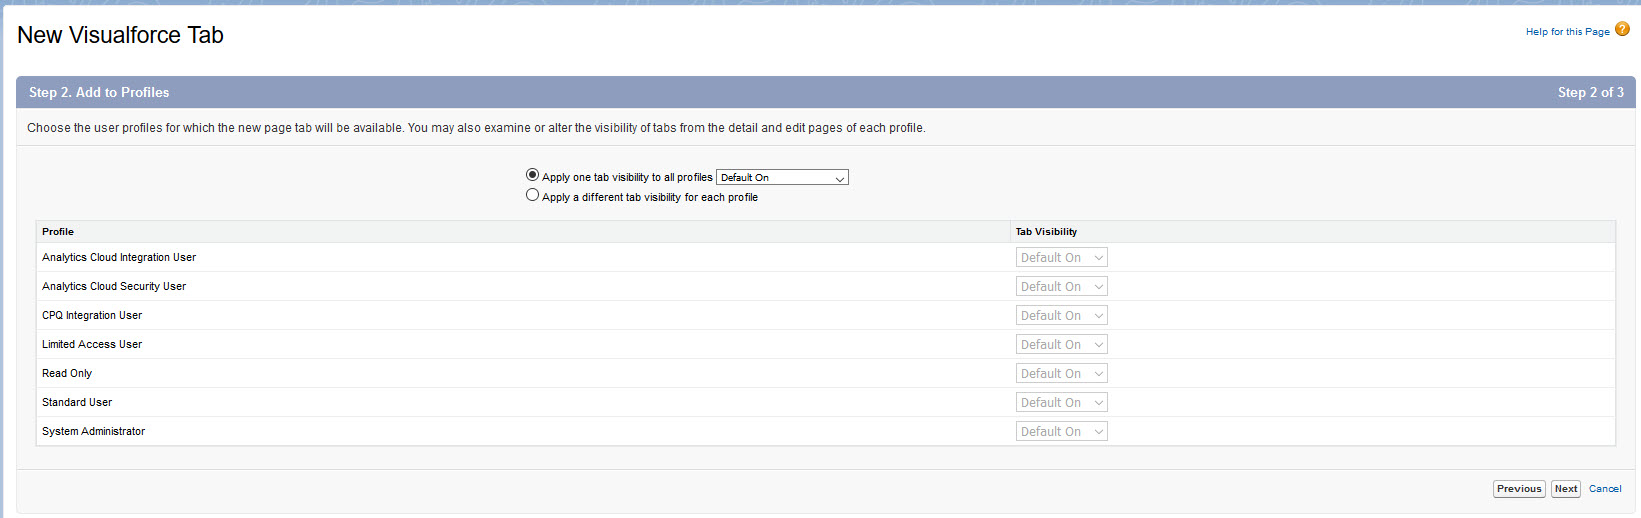
9. The next page in the tab setup is if you want to add to only specific profiles. In this case I have left the default settings and clicked the “Next” button.
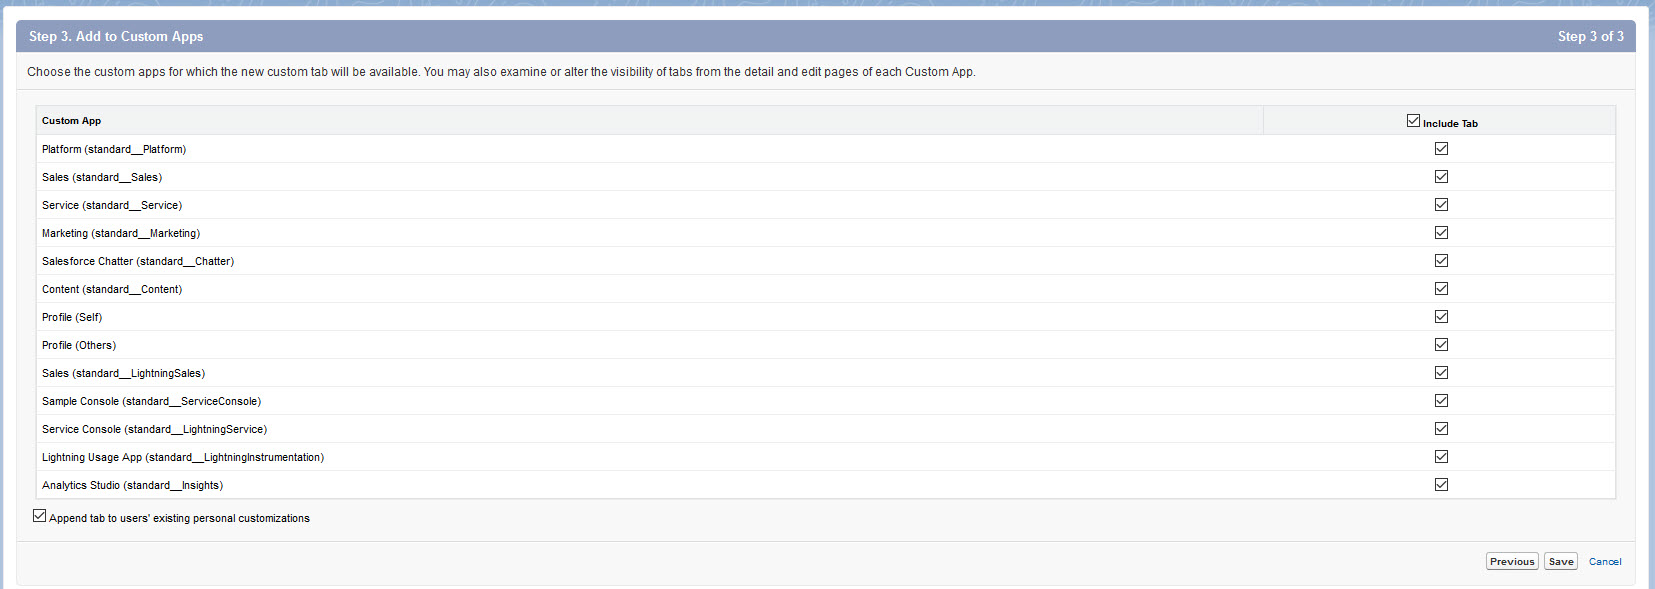
10. In this step you can choose the custom apps that you want the new tab to be available on. I have again left the default and clicked the “Save” button.
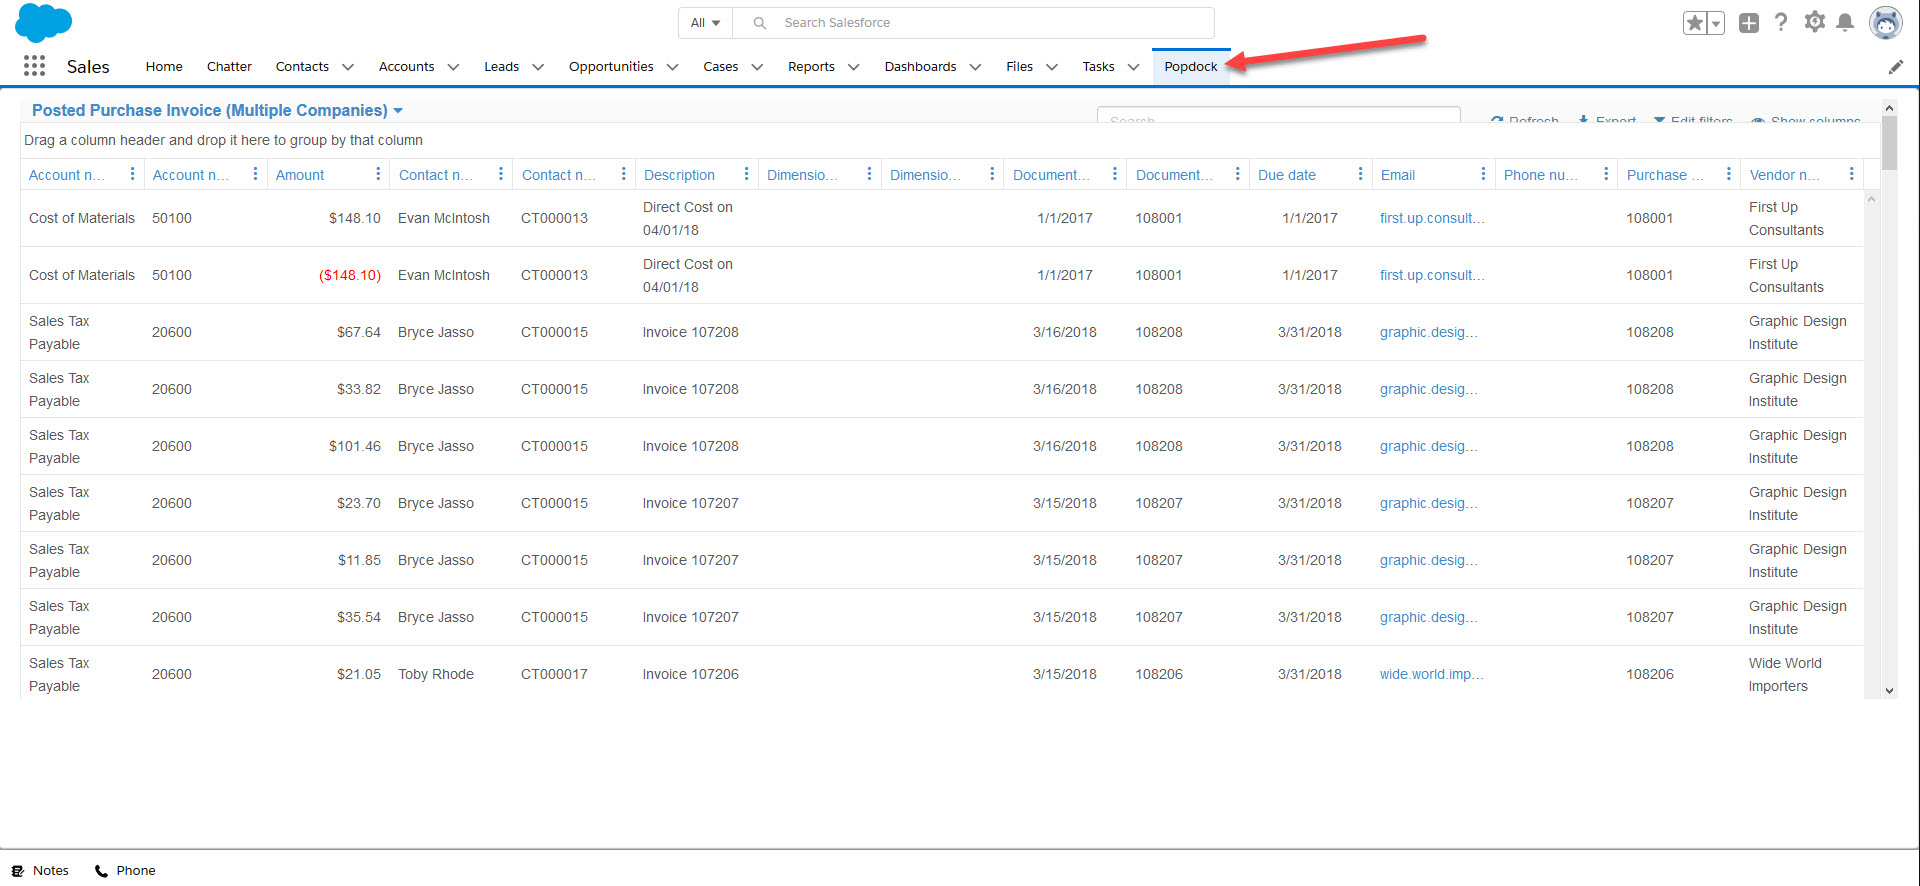
Now you will see the new tab added to your Visualforce Tabs and you can go to your Salesforce main page to see the new tab has been added.
Questions on embedding a Popdock Widget in Salesforce? Contact support@eonesolutions.com.