With the use of a Popdock widget you can integrate a Popdock list or multiple lists directly into your Netsuite user interface either as a tab at the top menu or as custom content on your dashboard or page. The following is how to create a new custom tab on your Netsuite which uses the Popdock widget.
Important Tip
A Popdock widget will need to be created prior to following these steps because you will need the widget portlet code. Click here to learn how to create a Popdock widget.
Edit the Widget to Embed Codes for Netsuite:
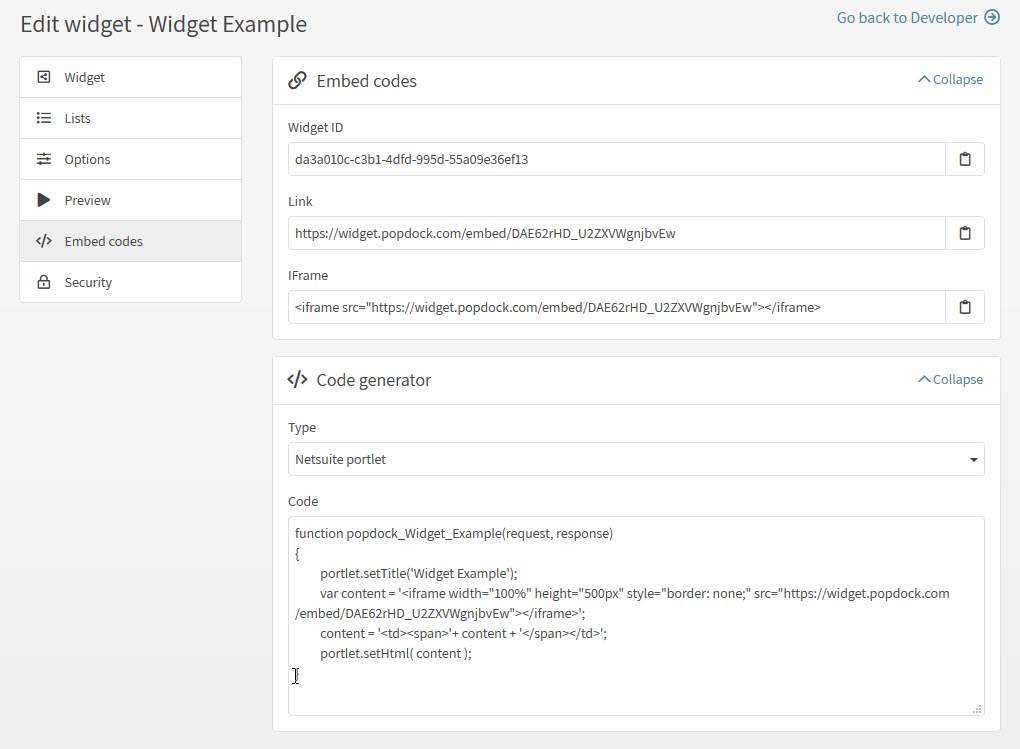
1. From the widget page, click the edit icon on the widget you are going to use. Then click on Embed codes from the left navigation. Select “Netsuite portlet” for the type so that the code will generate.
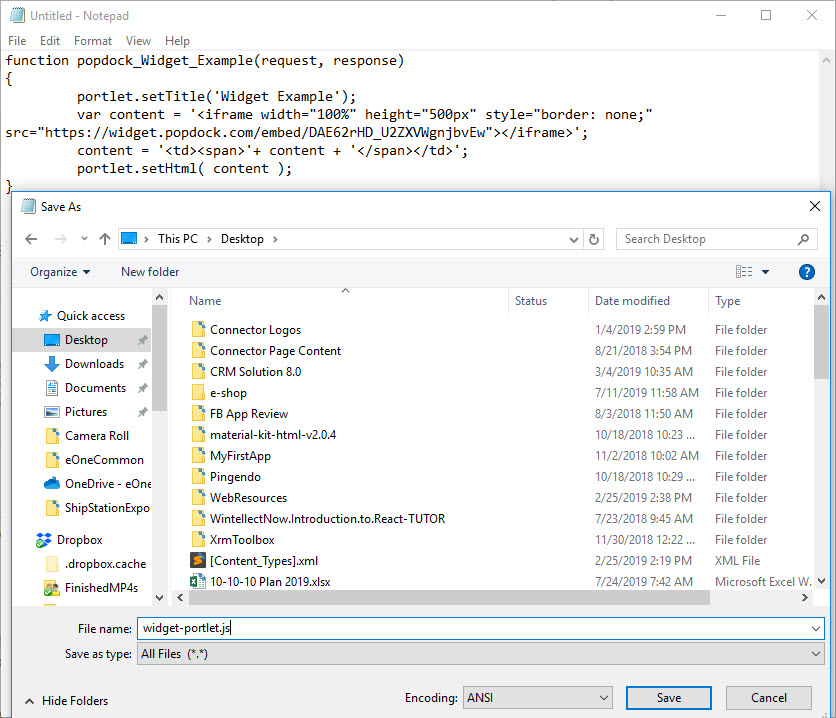
2. Copy the text in the code field so that you can paste it in a text editor and then save the file as a .js file type. This is the file type needed to import to Netsuite. Here I show using Notepad to save the function into a .js file type.
Creating a Popdock Portlet:
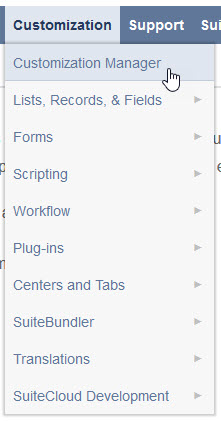
1. Click Customization on your top menu, then choose “Customization Manager”.
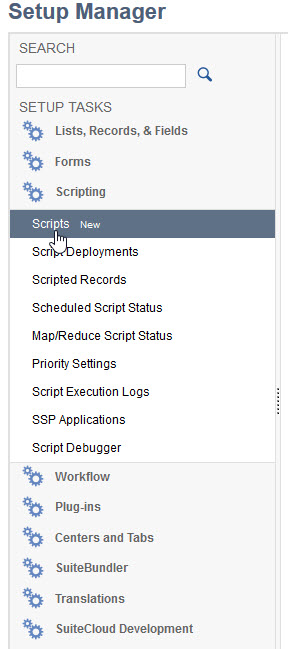
2. In the left navigation, click on “Scripting”, then click on “Scripts”.
3. Click on New, to create a new Script.
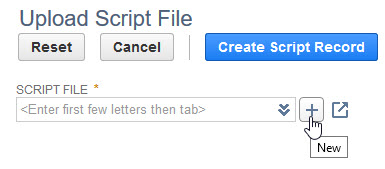
4. Next we will add a new script file from the one saved to our computer. Click the “+” button.
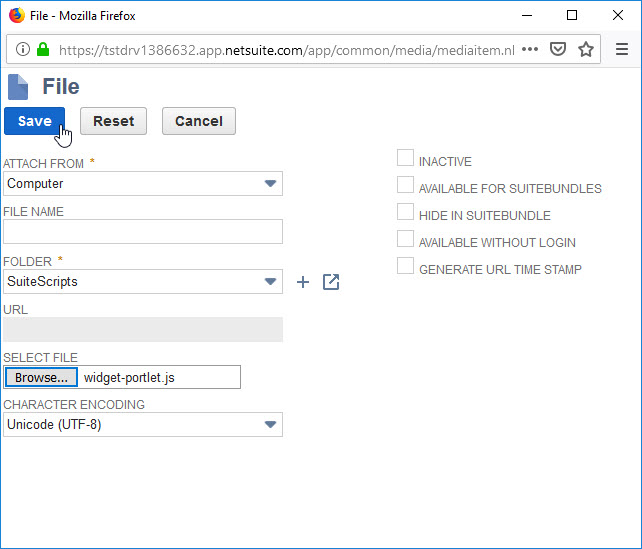
5. Make sure Attach From is set to Computer, then click the “Browse” button to browse your computer for the .js file you have saved. Then click Save.
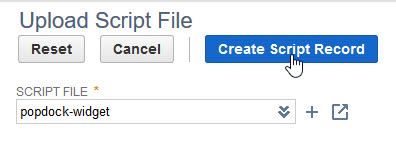
6. Now click the “Create Script Record” button.
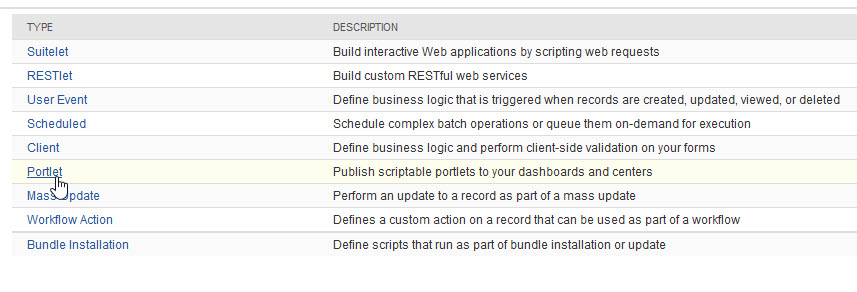
Step 7. Click “Portlet” from the list of options.
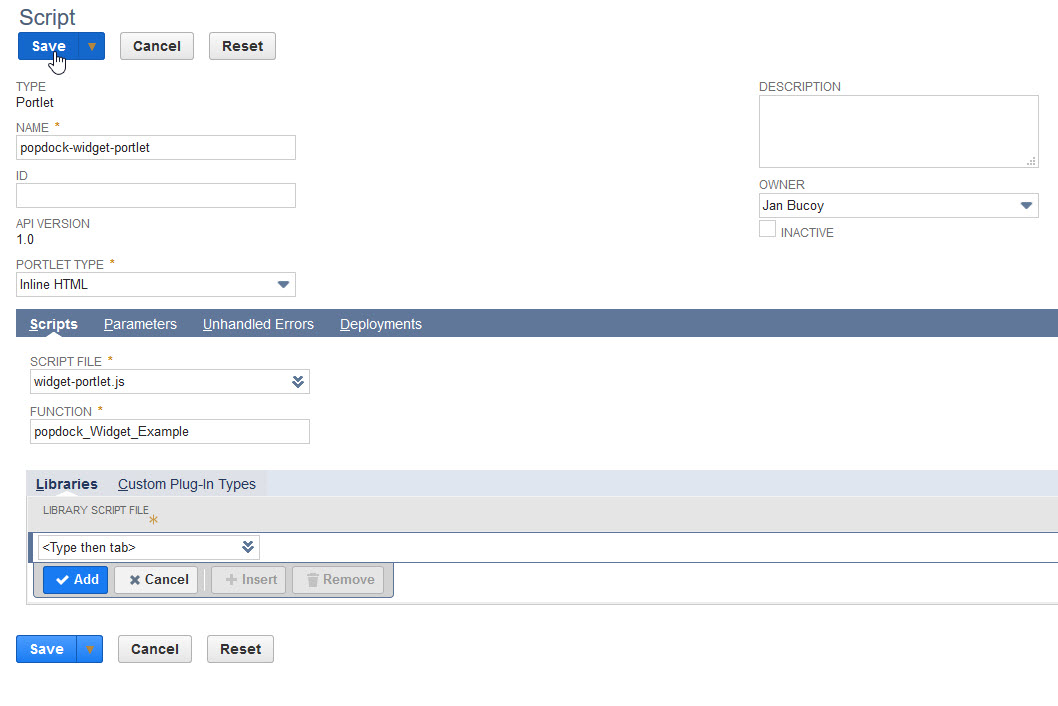
8. Complete the Script name, select “Inline HTML” for the Portlet Type, and for the function name, copy it from the widget embed code, for example, this one will be “popdock_Widget_Example”. Now click Save.
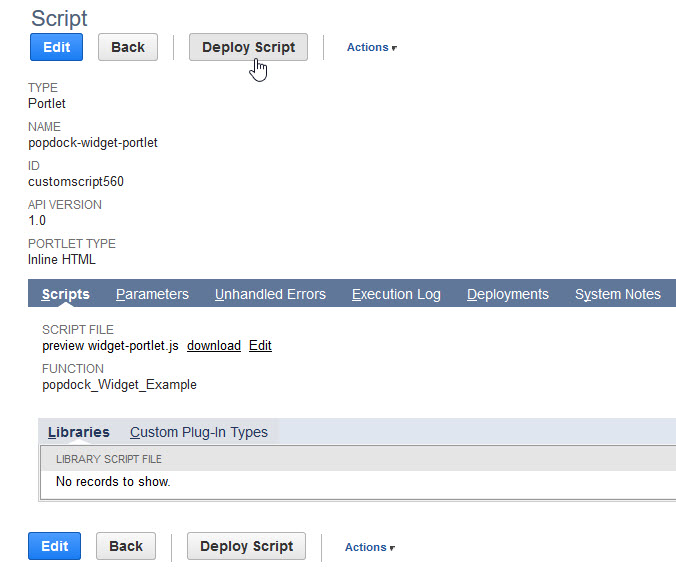
9. Next, click the button to Deploy Script.
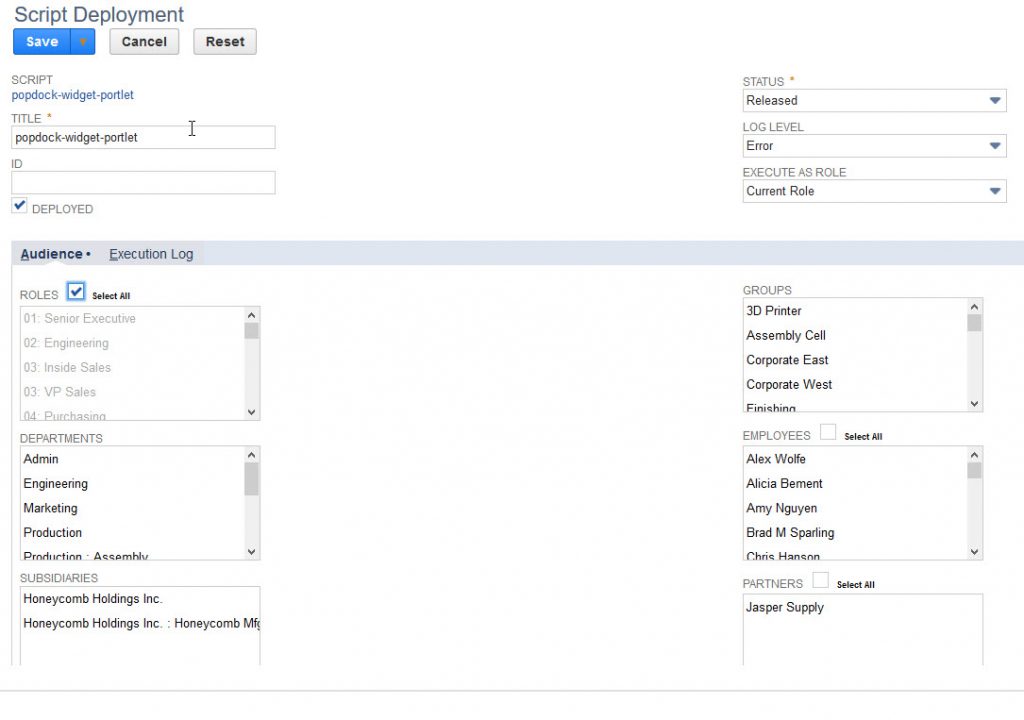
10. Change the Status from “Testing” to “Released” and select the permissions for the portlet. Now click the Save button and your custom portlet is ready to use. Follow the next steps to add your portlet to a custom tab.
Adding a Popdock tab:
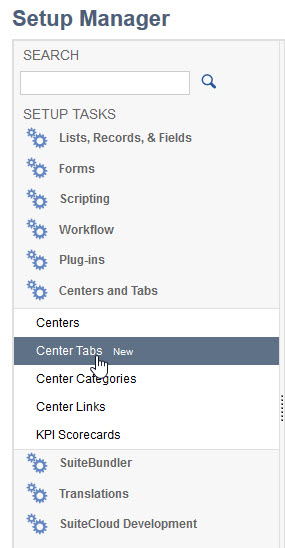
1. Click Customization on your top menu, then choose “Customization Manager”.
2. In the left navigation, click on “Centers and Tabs”, then click on “Center Tabs”.
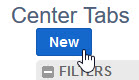
3. Click on New, to create a new Center Tab.
4. Give your new Center Tab a Label. Then in the Center field, choose the center where you want the tab added. If you want to show the tab in all centers, select “-All-“. In the Content section, we want to click on Portlets and complete the Type, Column, and Show. Here I have selected “Custom Portlet”, “Center”, and “Yes”.
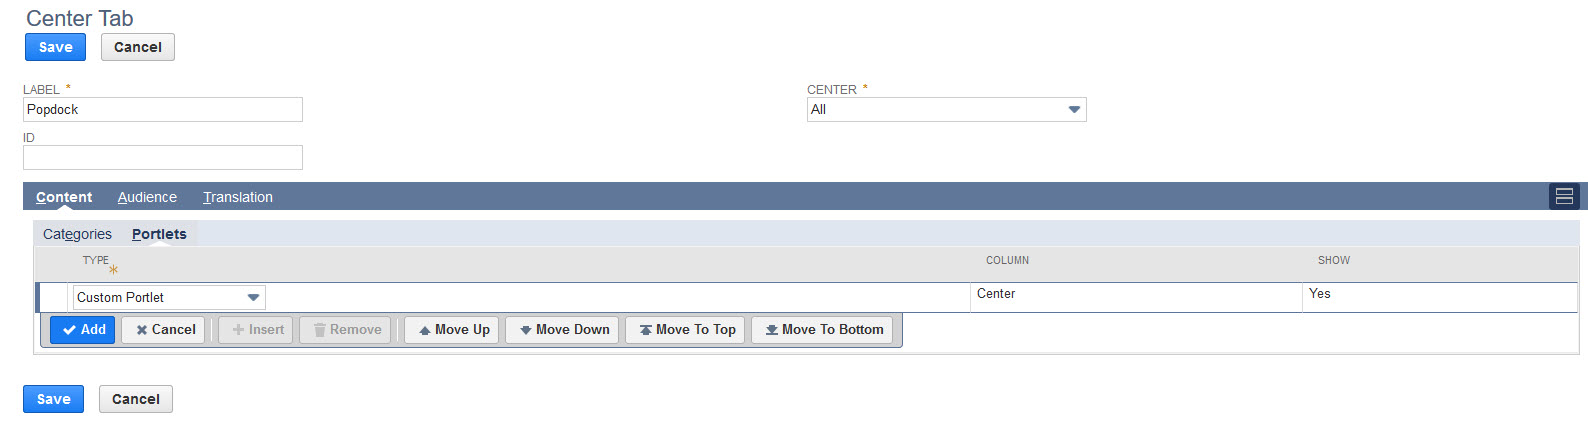
5. Click the “Add” button and you should see you new Custom Portlet listed under Content.
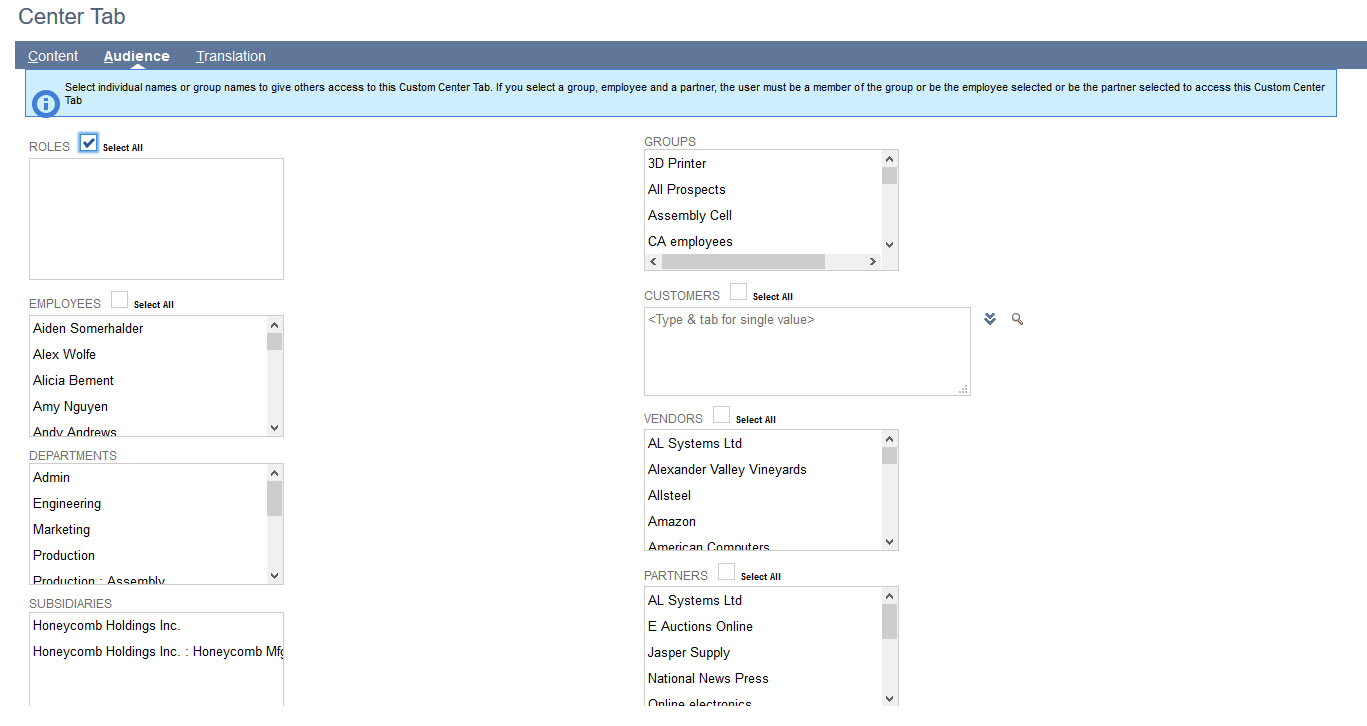
6. Next you can click on Audience and select who will have access to this Popdock Portlet. Here I left it set to All.
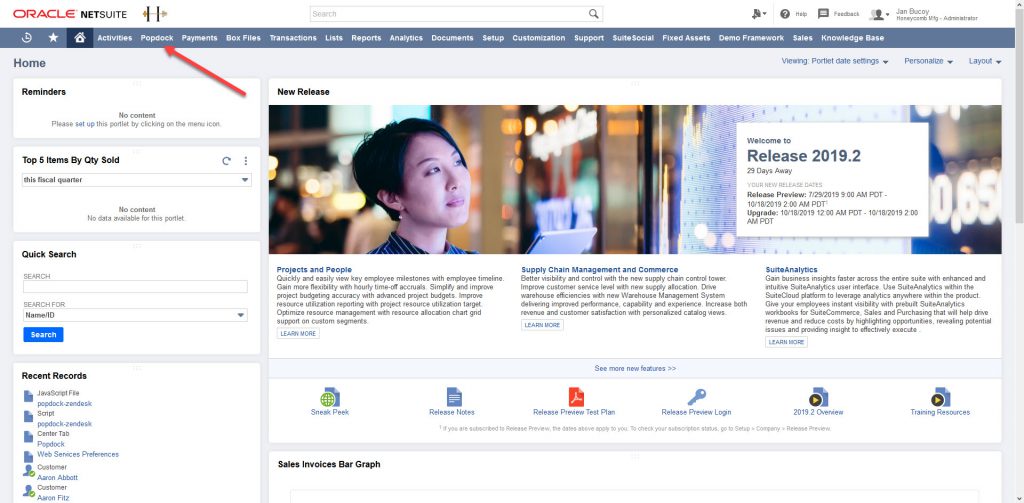
7. Click “Save” to add the new tab to your Netsuite menu. Now return to your home and you should see the new Popdock center tab on your menu. Go ahead and click on it. Since we have not assigned a portlet to the tab, it shows this setup page.
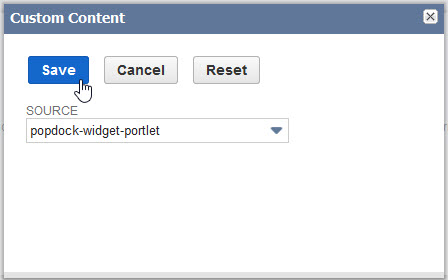
8. In the Custom Content section there is a menu at the right side when you click on the 3 stacked dots. From this menu, select “Set Up”.

9. Select your Popdock Portlet from the Source dropdown and then click Save. This will then assign the Popdock Portlet to the Center Tab and when you launch the tab now, it will show the Popdock widget that you have created as a Netsuite Portlet.
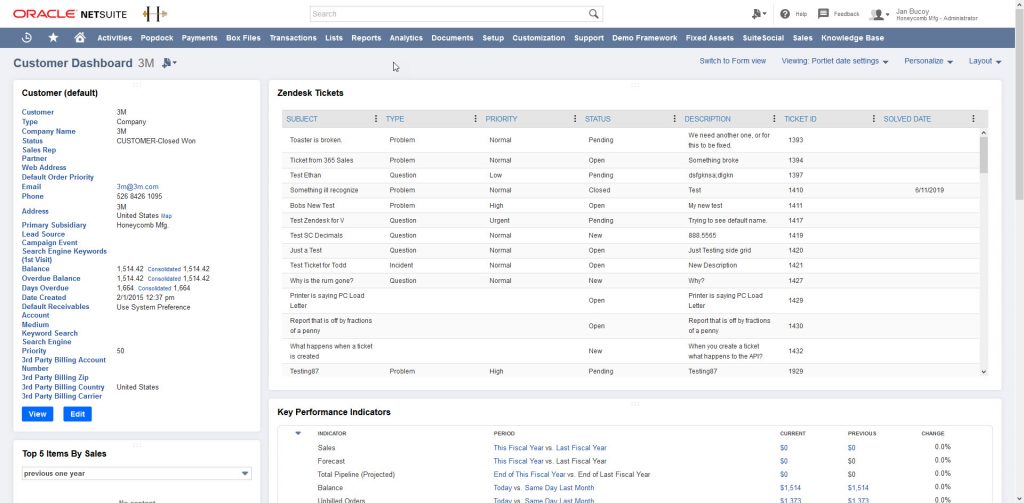
10. Here’s an example of showing Dynamics GP data inside of Netsuite.

Adding Popdock to a Dashboard:
Now that you have Popdock available as a custom portlet in Netsuite, you can add Popdock anywhere a portlet can be added. Here is an example of adding Popdock on a dashboard in Netsuite.
1. On the dashboard you would like to customize, click the personalize link at the top right to see the menu options.

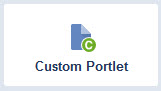
2. Click the custom portlet button.
3. This adds the custom content section in the dashboard and then you have to click on the top right corner of the section to edit the setup. This is where you choose the custom content source and choose the portlet you created then click save. Now your portlet is added to your dashboard.
