SmartConnect 2018
IIS 6.0
| 1. | Open IIS manager (Control Panel >> Administrative Tools >> IIS Manager) |
| 2. | Expand the websites folder and find the SmartConnect web site. |
| 3. | Double-click on the SmartConnect web site to expand it. |

| 4. | In the right IIS pane, right click on the SmartConnect virtual directory and select properties to open the properties window. Select the ASP.NET tab and ensure that the ASP.NET version is at least version 2.0. You may need to change it. |
| 5. | Select the Directory Security tab of the properties window and then select the edit button in the Authentication and access control group. Ensure that the allow anonymous access settings, or authentication settings are as required. Select OK to close the properties window. |

| 6. | If the ASP.NET version was changed in step 4, IIS will need to be restarted so that the changes can take effect. If IIS is used for applications other than the SmartConnect web service, resetting IIS will terminate all current sessions on the IIS server and may interfere with application processing. Users may need to be warned before resetting IIS. Go to Start / Run, enter iisreset, select OK. |
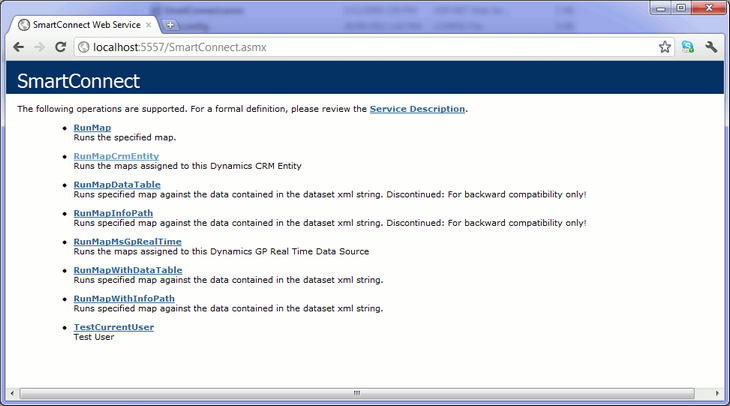
| 7. | To verify that the web service is running correctly, go back into IIS manager, double click on the SmartConnect website, double click on the SmartConnect virtual directory. On the right side of the page, right click on SmartConnect.asmx and select browse. |
| 8. | If the web service has been configured correctly the page below will be displayed. |