When updating meta type data within CRM a label column must be used for description fields. This allows descriptions / name fields to be displayed in multiple languages depending on system requirements.
To create a Dynamics CRM label column:
| 1. | Open Map >> Setup, or select the Maps Quick Link and double click on the map to be edited. |
| 2. | If creating a new map enter the map id and description. |
| 3. | If creating a new map enter the data source and key field information. |
| 4. | If creating a new map select CRM as the destination, then select the entity type required. |
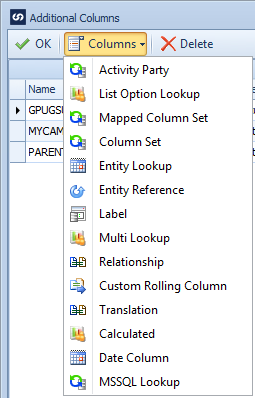
| 5. | Select Additional Columns from the toolbar at the top of the mapping window. |
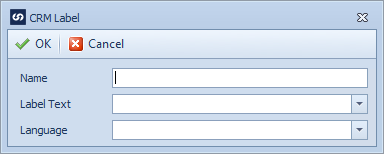
| 6. | Select Columns >> CRM Label from the toolbar at the top of the mapping window, or double click on the column to be amended. |
| 7. | Enter a name for the label column. Names must be unique within a map. |
| 8. | Select the data source field that holds the label text. |
| 9. | Select the field that holds the label language, or select the language from the list of languages from within CRM. |
| 10. | Select OK to save the column settings |
| 11. | Select OK to close the additional columns window, the new column should now appear at the bottom of the left grid in the matching window. |
| 12. | Drag the label field to the required spot in the destination grid or select label as the Column Type and the column name as the Column Name in the destination grid. |