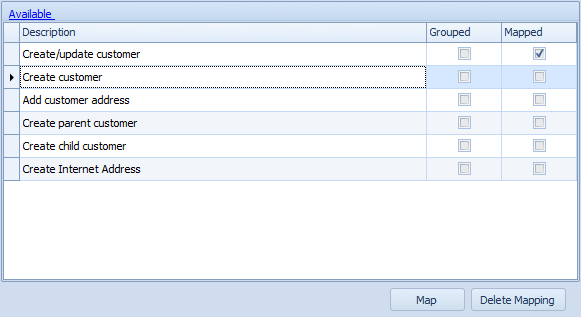
After selecting destination details on a map, the available map lines for that destination are displayed. Map lines may then be selected and mapped using the line mapping window. Selecting and mapping multiple lines on a map is useful for integrations are required for both header and detail items. The first map line will create the header information, with the second line creating the detail information. If more than one map line is selected and mapped map lines will be run in the order in which they appear on the map setup screen.

| • | Lines that have been mapped have the Mapped checkbox checked in the map lines area. Lines that have been grouped via the line mapping window have the Grouped checkbox checked in the map lines area. |
| • | To access the line mapping screen for a map line either double-click on the map line, or select the map line and then select the map button at the bottom of the map setup window. |
| • | To clear a line that has been mapped, select the line, then select the Delete Mapping button at the bottom of the map setup window. |
| • | To hide lines that have not been mapped, select the available nodes label (in blue) at the top of the map lines area of the map setup window. |
| • | To change the order in which mapped lines are run, select the available nodes label (in blue) at the top of the map lines area. Select the line that is to be moved, then select the required button to change the order of the map lines. |
| o |  will move the selected map line to the top of the map line list. will move the selected map line to the top of the map line list. |
| o |  will move the selected map line up one position. will move the selected map line up one position. |
| o |  will move the selected map line down one position. will move the selected map line down one position. |
| o |  will move the selected map line to the bottom of the map line list. will move the selected map line to the bottom of the map line list. |
