The following steps should be followed when installing SmartConnect.
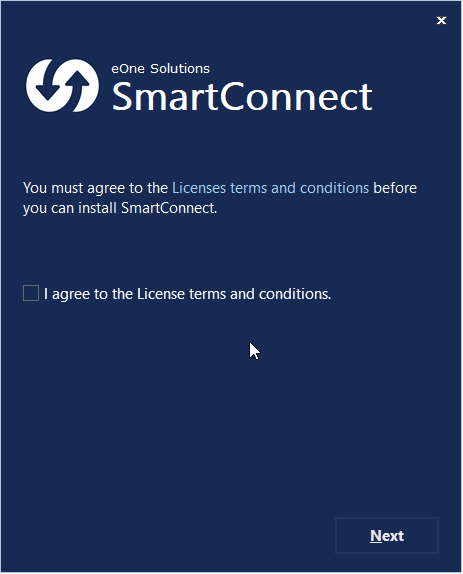
| 3. | Agree to the License terms and conditions then select Next. |
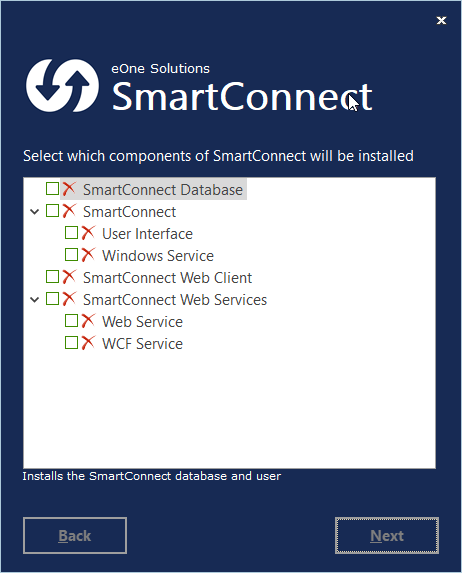
| 4. | Select the SmartConnect components required for this install. Select Next to continue. |
| o | User Interface - required to access SmartConnect to create / manage or run maps. |
| o | Windows Service - required if this install is to be used for SmartConnect scheduled processes. Note: only one windows service install is required in order to schedule SmartConnect maps and processes. |
| • | Web Client - this allows user to run and manage SmartConnect Integrations from a web browser |
| • | Web Service - this or the wcf service is required if this install is to be used to process Dynamics CRM real time data sources, Dynamics GP real time data sources, Dynamics GP SmartList data sources, data pushes from the SmartConnect Excel Add-In, or run other processes via the SmartConnect web service. Note: only one web service install is required to support these processes. |
| • | WCF Service - required if this install is to be used to process Salesforce real time data sources. This or the web service is required if this install is to be used to process Dynamics CRM real time data sources, Dynamics GP real time data sources, Dynamics GP SmartList data sources, data pushes from the SmartConnect Excel Add-In, or run other processes via the a web service Note: only one web service install is required to support this functionality. |
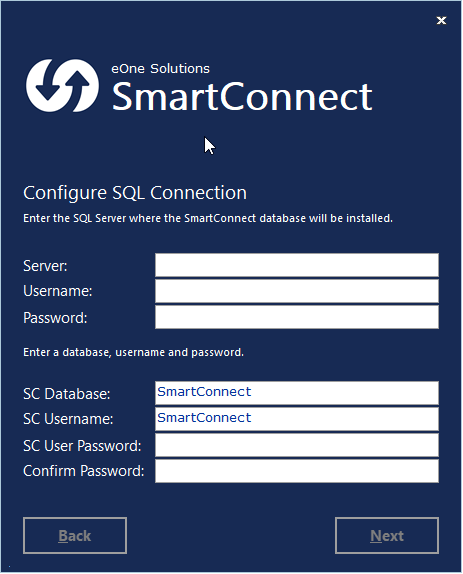
| 5. | Enter the required information about the SmartConnect installation. Depending on the components selected, the windows may have different selections on them or not appear. Select Next to continue. |
| • | Enter the name of the MSSQL Server where the SmartConnect database should be created. |
| • | Enter a MSSQL login and password to be used to connect to the MSSQL server. The user selected here must have security to create the SmartConnect user and database. Note: username and password entry boxes will not appear for client installations. |
| • | Enter a password for the SQL SmartConnect user. Remember this password as it will be required in the event of installations on other machines. |
| o | If this is an upgrade from a version that did not require the entry of the SmartConnect password, enter SmartConnect here. |
| o | If the installation has been run on other machines, enter the same password here as was entered on the original install. |
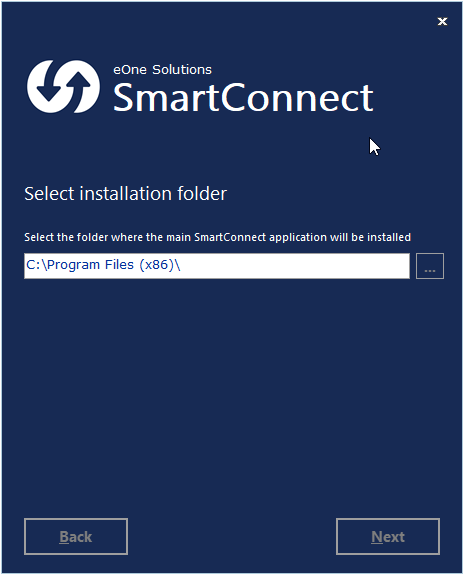
| 6. | Select he folder where the SmartConnect files should be installed. Select Next to continue. |
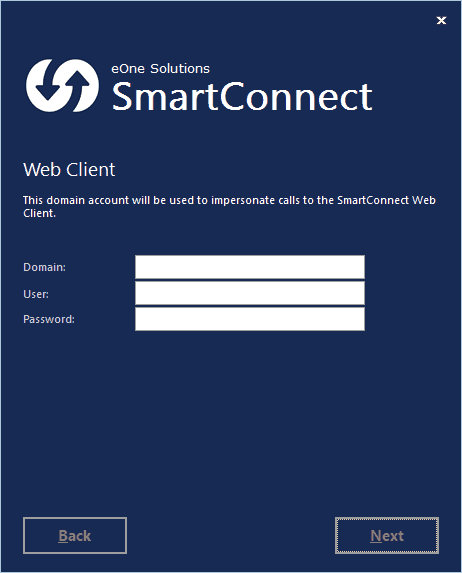
| 7. | If installation of the SmartConnect Web Client has been selected, enter the information required for the setup of the service. Select Next to continue. |
| • | Enter the domain of the user that will be used to call the SmartConnect Web Client. |
| • | Enter the username of the user that will be used to call the SmartConnect Web Client. This user may be the same user selected in step 6. This user will be used every time a map is run through the SmartConnect web service. This means that the user must have the appropriate SmartConnect security to run the required maps, as well as access to the required data sources and destinations. |
| • | Enter the password of the user that will be used to call the SmartConnect Web Client. |
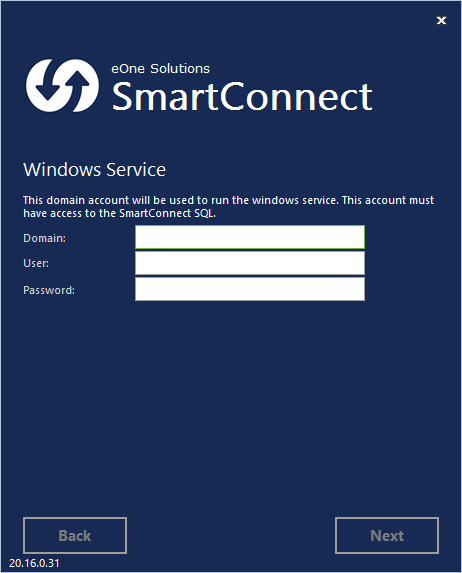
| 8. | If installation of the SmartConnect Windows Service has been selected, enter the required information for the service setup. Select Next to continue. |
| • | Enter the domain of the user that will be used to run the windows service. |
| • | Enter the username of the user that will be used to run the windows service. This user will be used to run all scheduled SmartConnect maps, as well as scheduled SmartConnect maintenance functions. The user should have access to all required SmartConnect data sources and destinations. The user also requires the 'Log on as a service' right. |
| • | Enter the password of the user that will run the windows service. |
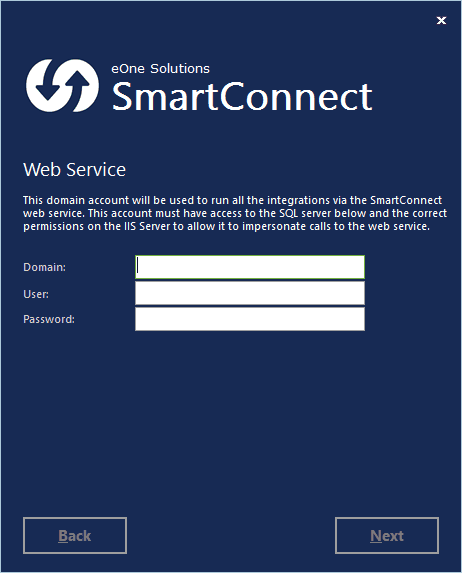
| 9. | If installation of the SmartConnect Web Client has been selected, enter the required information for the service setup. Select Next to continue. |
| • | Enter the domain of the user that will be used to run the windows service. |
| • | Enter the username of the user that will be used to run the windows service. This user will be used to run all scheduled SmartConnect maps, as well as scheduled SmartConnect maintenance functions. The user should have access to all required SmartConnect data sources and destinations. The user also requires the 'Log on as a service' right. |
| • | Enter the password of the user that will run the windows service. |
| 10. | If installation of the SmartConnect WCF Service has been selected, enter the details required for the setup of the service. Select Next to continue. |
| • | Enter the domain of the user that will be used to run the WCF Service. |
| • | Enter the username of the user that will be used to run the SmartConnect WCF Service. This user may be the same user selected in steps 6 or 8. This user will be used every time a map is run through the SmartConnect WCF Service. This means that the user must have the appropriate SmartConnect security to run the required maps, as well as access to the required data sources and destinations. |
| • | Enter the password of the user that will be used to run the SmartConnect WCF Service. |

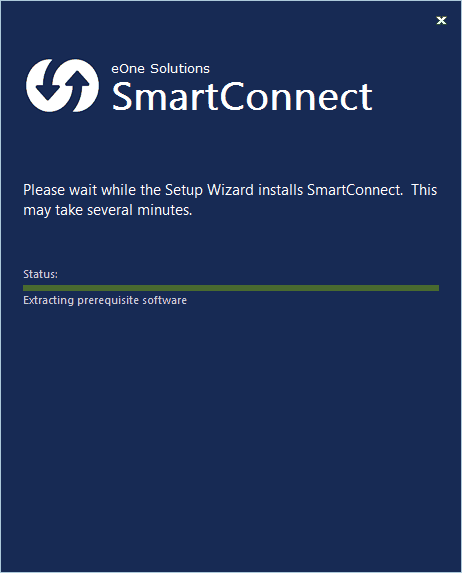
| 11. | Select Install to start the installation process. Pre-requisites (e.g. eConnect) will install before SmartConnect. |
| 12. | The installation process has completed. Select Finish to close the window. |